Plein air odds and ends

In this post I thought I'd share a little about some of the tools I carry with me in my plein air pack. Some are specifically designed for the plein air artist, and some I have co-opted for my own nefarious purposes. ;-) This first photo shows a picture of my current setup: 

55C537F3-E39E-415D-BB8B-0EB07B466242.JPG

My paint box is one I have mentioned before, but I love it so much I will say it again! It's the Coulter Easel. It is so quick to set up and simple to use. It has lots of work space for color mixing as well. Mine is the Compact model. Coulter's site offers other sizes as well, but I felt that this model was the most versatile for me as while it is lightweight, it doesn't compromise valuable workspace. As for the other items in this photo, I will list them in a clockwise manner. 

  • A mini sun shield that closes up flat into a small circle. I use this to cast a shade on my palette so that I don't get the glare of sunlight on it. I do have an umbrella, but many times depending on how I position myself, this little shade is all I need. When I do find the need for an umbrella, the model I use is Bestbrella. It works great for me.  
  • An envelope-style brush holder.  Called a "brush wallet", this style brush holder comes with a loop at the top, which I loop onto my tripod handle. I like this brush holder because I can tuck this in behind my palette and have my brushes handy without taking up space on my paint box. (*Note- I couldn't find a source for my brush holder. I bought it a number of years ago and I am thinking I bought it from
  • A couple of zip-up pencil bags to carry my paints. In one I carry my large tube of white, my mediums (more about that in a minute) my paint scraper, and palette knife. In another I carry all of my other oil colors.  
  • A bungee cord to hold my paper towels. The hooks on the bungee loop right over the lip of the paint box.  
  • A mini trash can. This is something I picked up in the automotive section of a big box store. Like the sun shield it also twists down into a little circle. It stays closed with an elastic band that is attached to the plastic rim. A plastic shopping bag will work in a pinch, but I prefer this style holder over the plastic bag because it doesn't blow around in the wind and remains open as I'm working. This little model came with a plastic loop on the top that I used to thread the bungee cord through, eliminating the need for clips or clamps.
  • Protective gloves for my hands. As you can see, by my brush handles, I'm not the neatest painter around, so gloves are a must for me. I became allergic to both latex and nitrile gloves, so the gloves I use are actually food grade gloves by Platex. They are the only semi-sturdy gloves that I don't react to. They actually hold up great. One benefit to these gloves is that I can get them in the grocery store when I'm grocery shopping, so I don't have to make a special trip to the hardware store when I run out. 
  • A small cat food can. I use this little can to hold a small amount of  Gamsol that I use to thin my paint in the very beginning stages of painting. I just pour in a little amount at a time, so when I'm done painting for the day I can just wipe out the can and pack it away.
  • A small eyedropper for holding the Gamsol. I'm using an eye dropper because it's small and it's what I had on hand, but any small solvent-safe container will do. Gone are my days of carrying around those heavy metal turp containers.  Check the next photo to find out why. 


0373A855-E584-47C9-9E73-CB049F8AC3D2.JPG
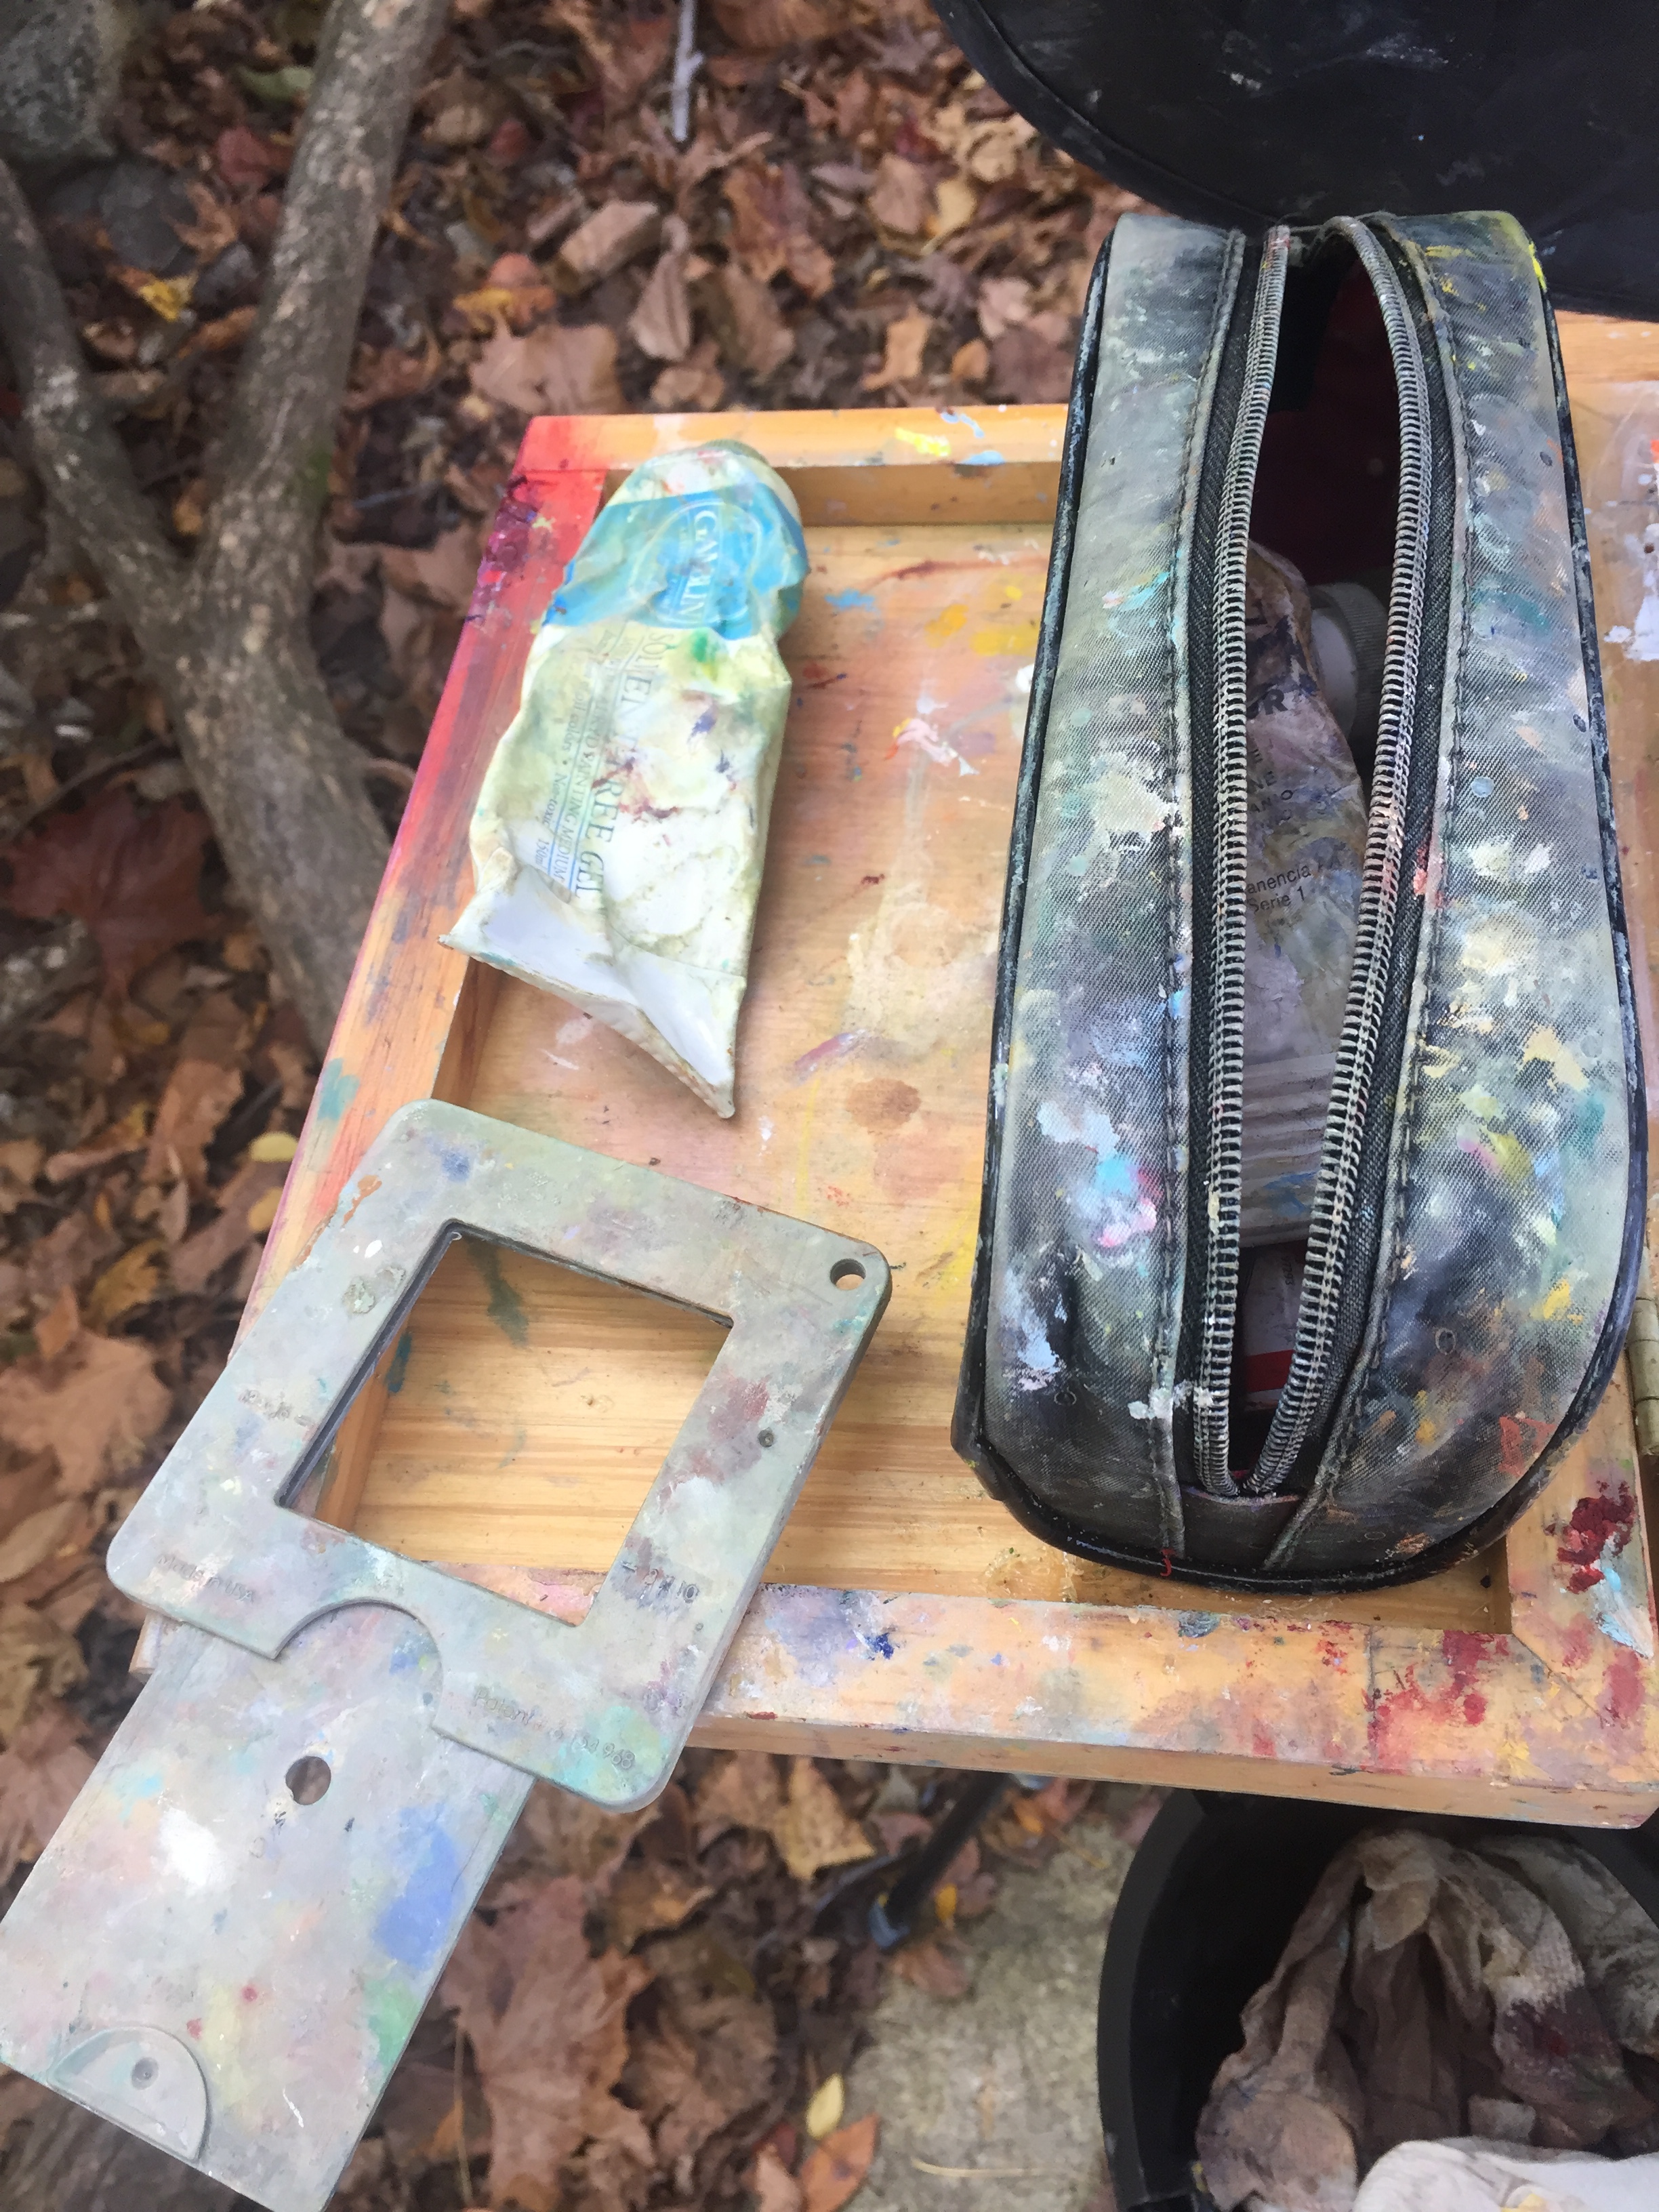
  • Gamblin Solvent-free Gel. Okay, I am not painting completely solvent-free, as I prefer a thinned-down , lean application in the beginning for my preliminary drawing. I use Gamblin's Solvent-free Fluid in the studio, but I prefer the gel in my plein air pack as the fewer liquids I have to worry about spilling the better. You can even use this stuff to clean off your brushes between colors and just wash them all up with soap and water back home in the studio. 
  • A view finder. There are various offerings on the market, but I prefer this simple model. The little lever moves up and down to change the proportions. Several popular sizes are marked on the view finder (9x12, 8x10, 12x16, Etc.) The little holes in the view finder also serve as color isolators as well. 

This is not a comprehensive list but it covers most things. There may be a few other odds and ends to discuss, and if I come across them I will definitely share them here on the blog. 

Painting solvent-free with traditional oils

Readers who have followed my blog for any length of time may know that I have been in pursuit of solvent-free painting methods for some time. My reasons are two-fold; it's better for my health and I simply don't like the mess of dealing with solvents on a regular basis.

So for the last 10 months or so, I have been painting pretty exclusively with Cobra water miscible oil paints by Royal Talens for my studio work, though I still used traditional oils outdoors for plein air painting. This worked fine, though I still struggled with certain aspects of my chosen materials. In the studio, while the Cobra paints worked really well and complemented my working methods, in other respects I missed the depth and richness that certain colors in my traditional oils  provided to me. On the flip side, I still really hated having to carry around solvents when plein air painting. Both the weight of the liquid and especially the mess of pouring and emptying the solvents really bothered me.

So, after listening to artist Leslie Saeta's excellent Artists Helping Artists podcast featuring an interview with Robert Gamblin, (of Gamblin Artist Colors) I took special note of their discussion surrounding Gamblin's relatively new line of solvent-free gels and mediums. I will admit I have known about these mediums for a while, and even have some of them in my studio. But in truth I haven't done much with them, because other than thinning my oils in the beginning stage and cleaning my brushes between strokes, I don't use painting mediums and so I really wasn't sure how they would benefit me.

But in this podcast, when I learned that you can actually use solvent free gel to clean your brushes during the painting session, well, that got my attention. I can use my beloved traditional oils without a can of messy solvents in my backpack? Now you're talking!

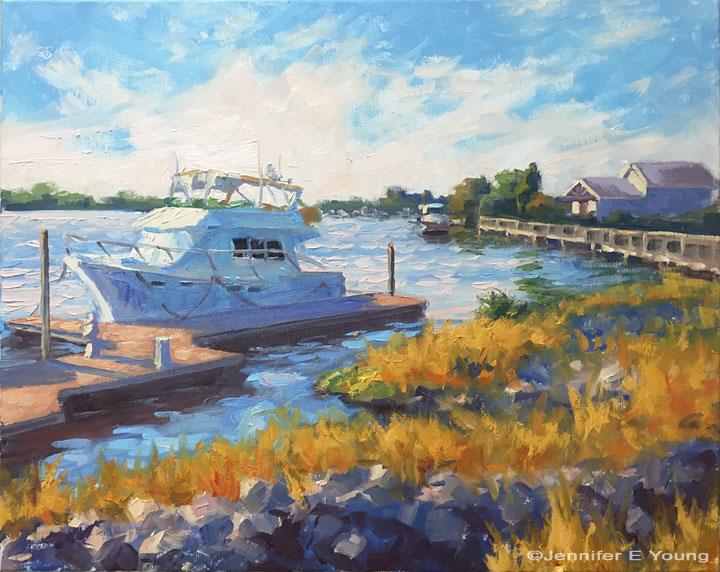
"At the Ready", Oil on linen, 16x20" ©Jennifer E. Young

"At the Ready", Oil on linen, 16x20" ©Jennifer E. Young

To experiment with the working properties of the method discussed, I executed the above painting in the studio. I did use a small amount of Gamsol in the beginning stages of my painting to adhere to the fat-over-lean principle of painting in oils. But I can carry this in a small container (a repurposed bottle no larger than an eyedropper that it once held my Argan face oil)  to squirt out a just little onto my palette for whatever small amount of thin washes I may need.  After that point, though, I paint with mostly just paint, maybe using the solvent free gel to get a little bit of slip in my stroke when needed, but mostly for cleaning off my brushes between strokes.

For clean-up on site, I wipe my brushes clean with the medium, maybe with one last squirt of Gamsol from my little bottle, before packing everything up . The final clean up takes place back in the studio. Different artists use different things to wash their brushes, from Murphy's Oil Soap to baby oil to plain old soap and water. I've used these too, but my favorite is Master's Brush Cleaner. This stuff comes in a tub and lasts forever. I can't even remember when I bought my current tub and I'm only about 1/3 of the way through. I just wet my brushes, swish them around in the tub, and the remaining paint is easily washed out under water. Something about this stuff seems to really get the oil residue off of the bristles and condition them at the same time. I don't know what's in that magic tub, and I'm not sure I want to know. But it seems pretty innocuous, though I always wear my gloves now when handling my art materials.

I'm really happy to be reunited with my traditional oil paints. I still like the water miscible oils, but it's hard to shake that first love, and now, it seems, I don't have to.

Independence Day

It was hot and humid and overcast. Our baby had been sick part of the week prior and through the long weekend with a 102 degree fever and hand, foot and mouth virus. And to top it all off, we woke up on July 4th sticky and without power from a tremendous summer storm the night before. But believe it or not, I had a great morning, as I was allowed the privilege of escaping getting outside early to do this little plein air painting.

plein air painting of water by Jennifer Young

The location is Young's Pond in nearby Bryan Park. I've painted this location before a number of times, and this approximate scene once before, which you can see here. There were a number of nearby spots I could have chosen, but on an overcast day it's nice to paint a water effect, as then you have some luminosity built in, when the light is otherwise fairly flat.

I spent about 3 hours on site working on this piece, which was longer than I normally would do on location. But I think the combination of fairly steady light conditions, and my private glee at having the entire morning completely to myself kept me lingering longer than I would have otherwise.

Here's a shot of my setup right before I started.

plein air painting setup

Next time I would like to get out even earlier than I did, to try and capture that wonderful atmosphere (aka humidity) before it settles into just plain old hot heavy air. But with a baby, you gotta do what you gotta do, and I was happy to get out at all. My setup has remained pretty consistent over the years, with my Soltek easel still being my go to plein air easel due to the ease of use and quick setup time.

The sun made its appearance often enough that shading myself, my painting, and my palette was a concern. I brought my umbrella with me, but it is a pain to set up and doesn't really work that great with the Soltek (one of the easel's down-sides...I've yet to find a really compatible umbrella that can attach to it without falling over.) So If I can get away without, I usually do. This often means avoiding standing in the blazing sun, even if it means forgoing a preferred view. Otherwise my painting ultimately suffers (not to mention my skin.)

In this photo I've set up my painting panel so that the sun (when it peeks out) is behind it, making it shaded. I am relatively shaded by tree branches overhead. Since I am right-handed, my subject is to my left, so that I am not having to reach across my painting when I look/paint. Often times I can shade my palette simply by wedging another panel between it and my painting. In this case I am using a flat wet panel carrier called the Art Cocoon.

This is actually a pretty neat concept for a wet panel carrier, which I read about some time ago on another artist's blog (when I still had time to read them) owned by Ed Terpening . The advantage is that you can use the carrier for different sized paintings with the provided inserts, and it is nice and lightweight and not bulky. But the down side for me is that it is made out of cardboard, which eventually warps (especially in our hot Virginia climate) and when that happens it stops protecting the painting effectively.

For that reason, my go-to wet panel carrier is still the RayMar. It's a little more expensive, and bulkier, but still lightweight. And its coroplast construction means that while it won't last forever, it lasts a good long time and doesn't warp.

Oil paints bursting in flight?

Here is a recent question from a reader that I thought I'd share at blog central:

I am planning to bringing 100s of oil paint tubes back from Beijing and I am wondering if they are at a high risk of bursting? Your advice would be highly appreciated. Best, J.


...and my response:

Dear J- If these are tubes of artist's oil paints, my experience has been that there wouldn't be much danger of that. After all, they are regularly shipped all over the world. And while some paints do contain driers and additives that are considered combustible, most are made with just pigment and a nut oil or linseed oil.

But don't take my word as law. Most of the well known brands will provide material safety data sheets (MSDS) for their art materials, which should provide a flash point of the paint in question (combustibility at a given temperature). You could always check the information provided on the MSDS with the airlines to see what their restrictions are. Most likely you will need to check the paints if you are flying commercially. Otherwise they could get confiscated if you try to bring them in your carry-on (but you probably are already aware of that!)

Good luck! (And check out a prior, more detailed post of mine on flying with oil paints from more info.)

Painting on a colored ground

Every so often I'll get a question about my painting process that I think might be an interesting topic to share here on my blog. Recently an artist friend asked me about the red ground I prepped my canvases with at one time.  I'm sure I've addressed toning a canvas a few times here on the blog, but since I've been asked about painting on a red canvas a number of times, I thought it would be a good idea to address this question specifically. Here is his question, followed by my response: Question: Are you still using red underpainting most of the time? Is that landscape specific or do you switch up for sky/water? 

My response: As for the red ground, I never use it any more. I really only used it for landscapes. It was fun because the underpainting gave vibratory effect due to it being a complement to the greens.  But it was too much of a distraction for sky and water, and ultimately I personally found it so for all of my landscapes, especially as I moved a little closer to realism.  Plus I got too lazy to tone my canvases that color as I'd have to let it dry first. Otherwise the red would lift and get mixed into my painting too much. Now in the studio I either just paint on a white canvas, or tone it with just a quick wash of transparent red  oxide (a.k.a PR101- the color I used in the tonal underpainting here).  That still adds a warm tone but is muted enough that it doesn't distract. It also isn't as high staining so I can apply a wash and then start painting immediately after.

*This artist is a studio painter, but I'll add here for the benefit of my blog readers that if I'm painting outdoors, I pretty much always use a mid-toned canvas of either gray, or a wash of trans red oxide or raw sienna, as sun on the white canvas creates too muchbounce and glare.