Upcoming events
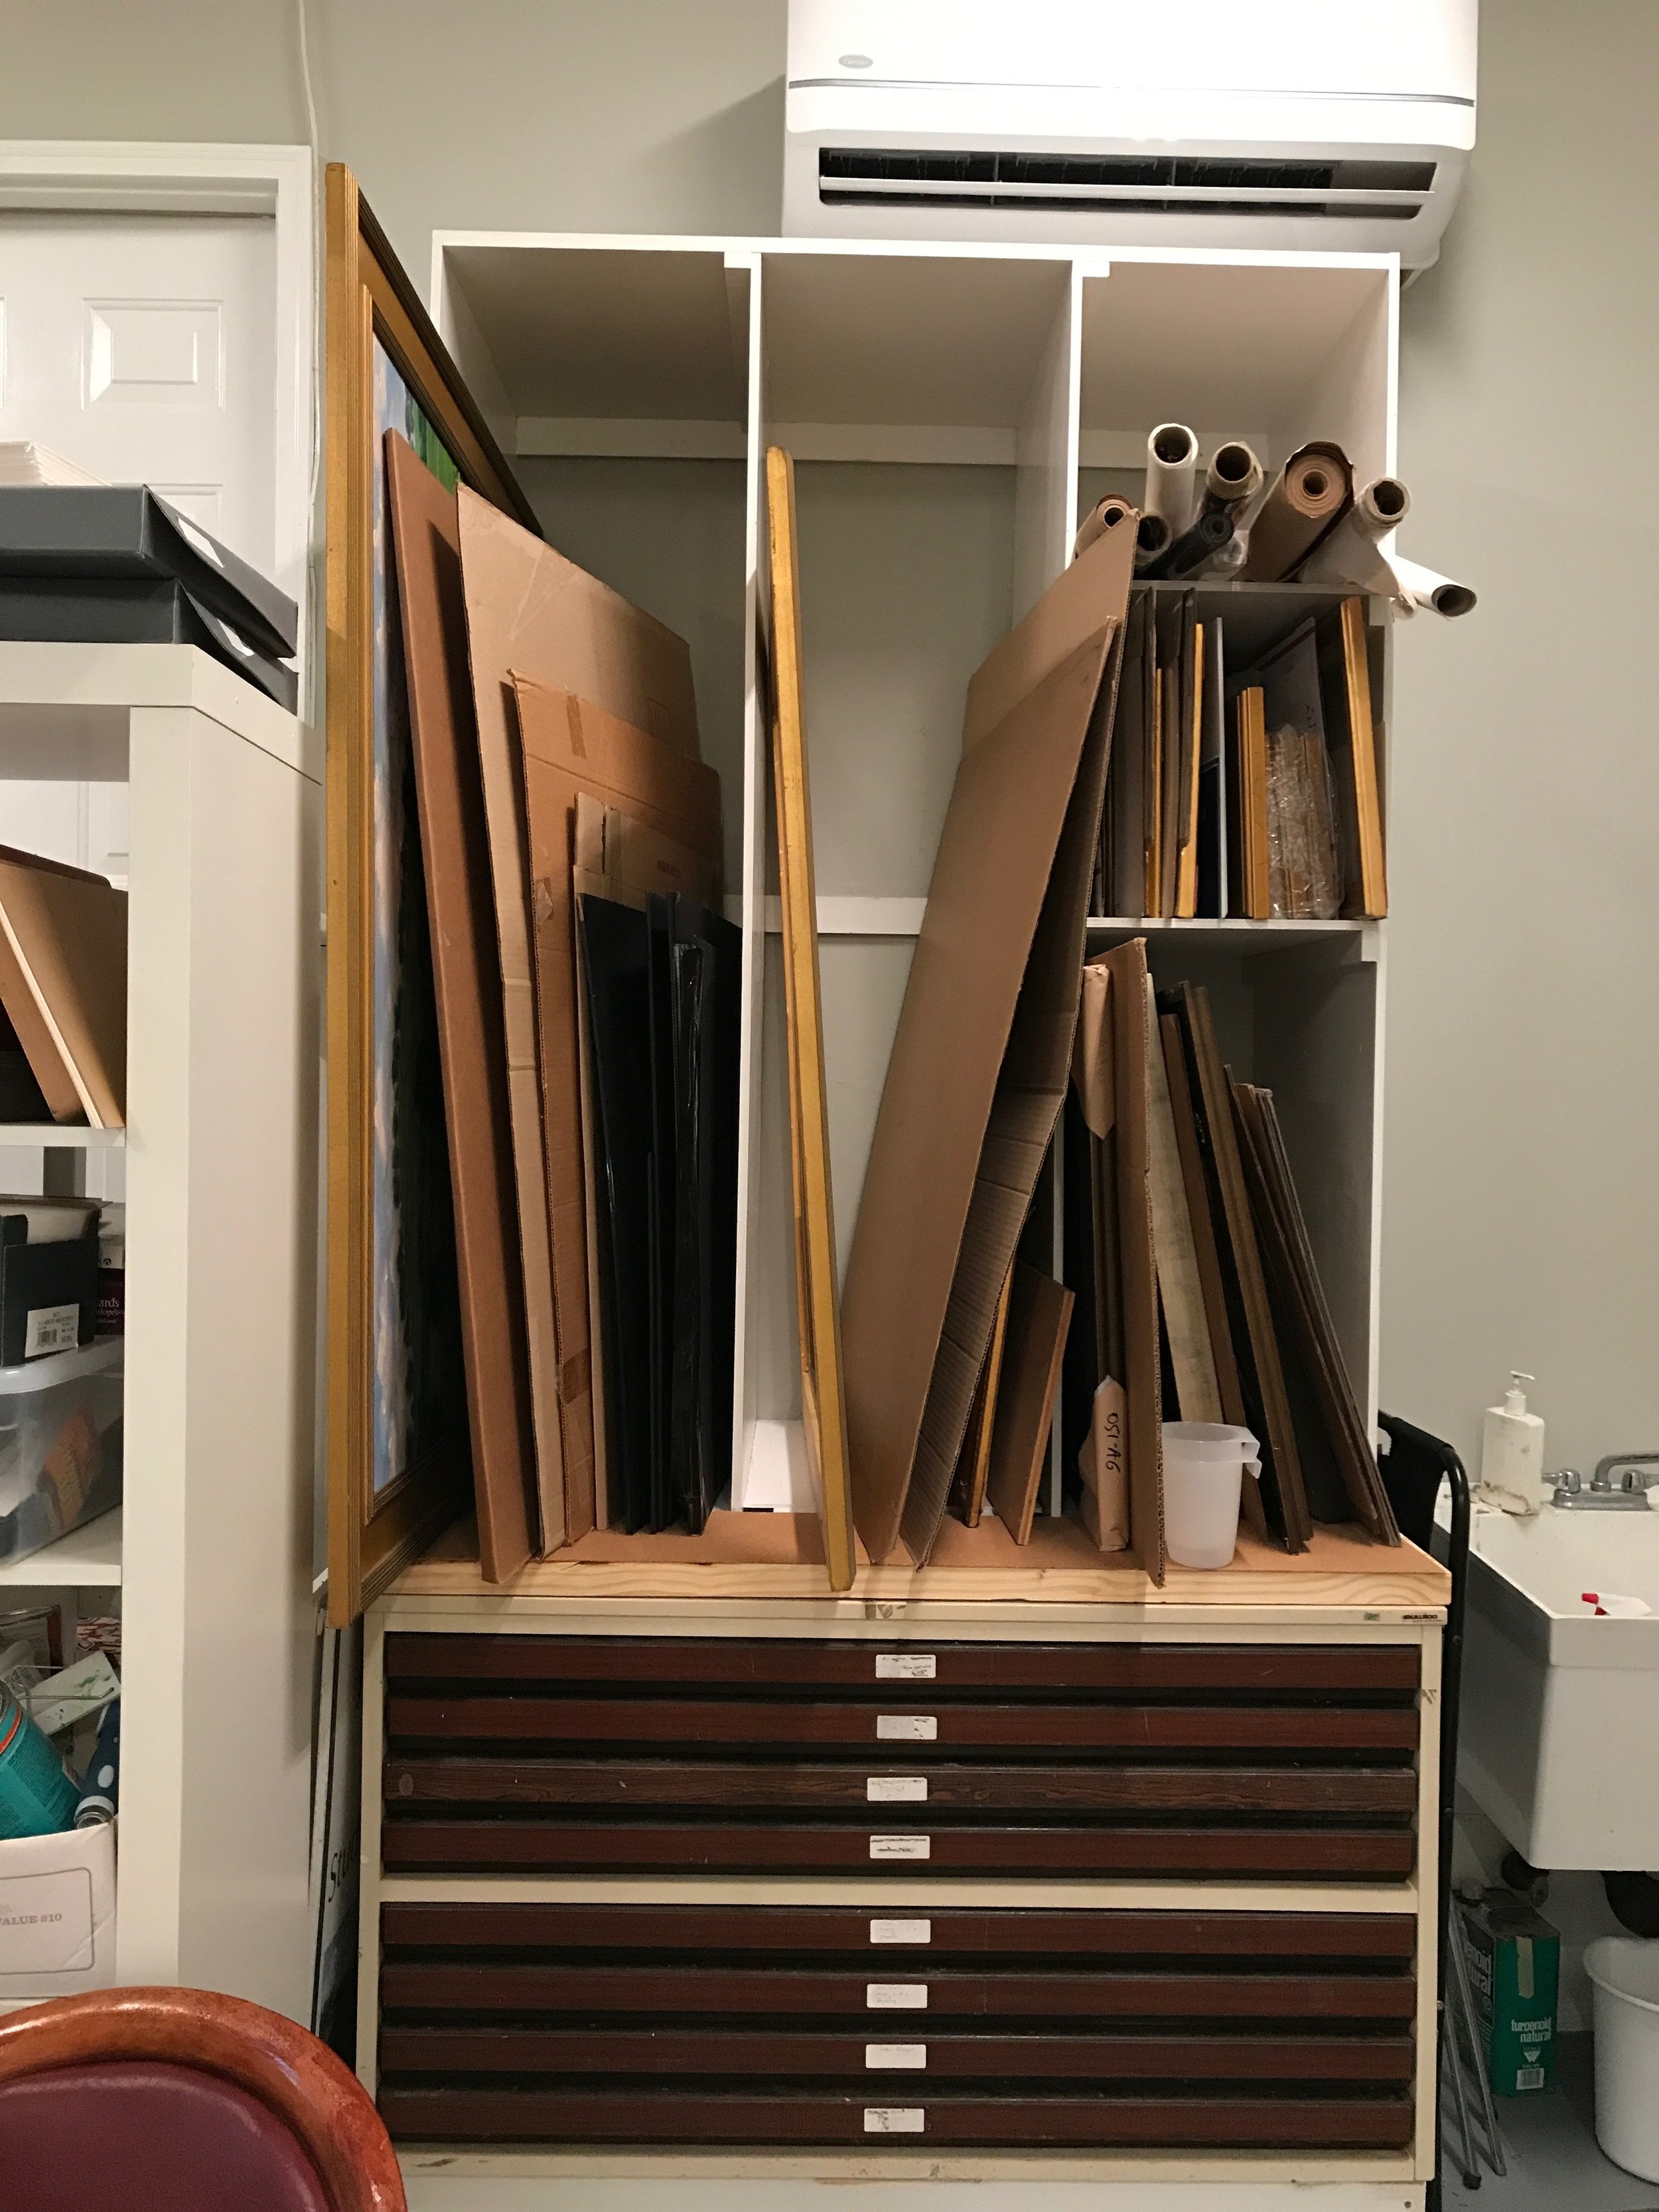
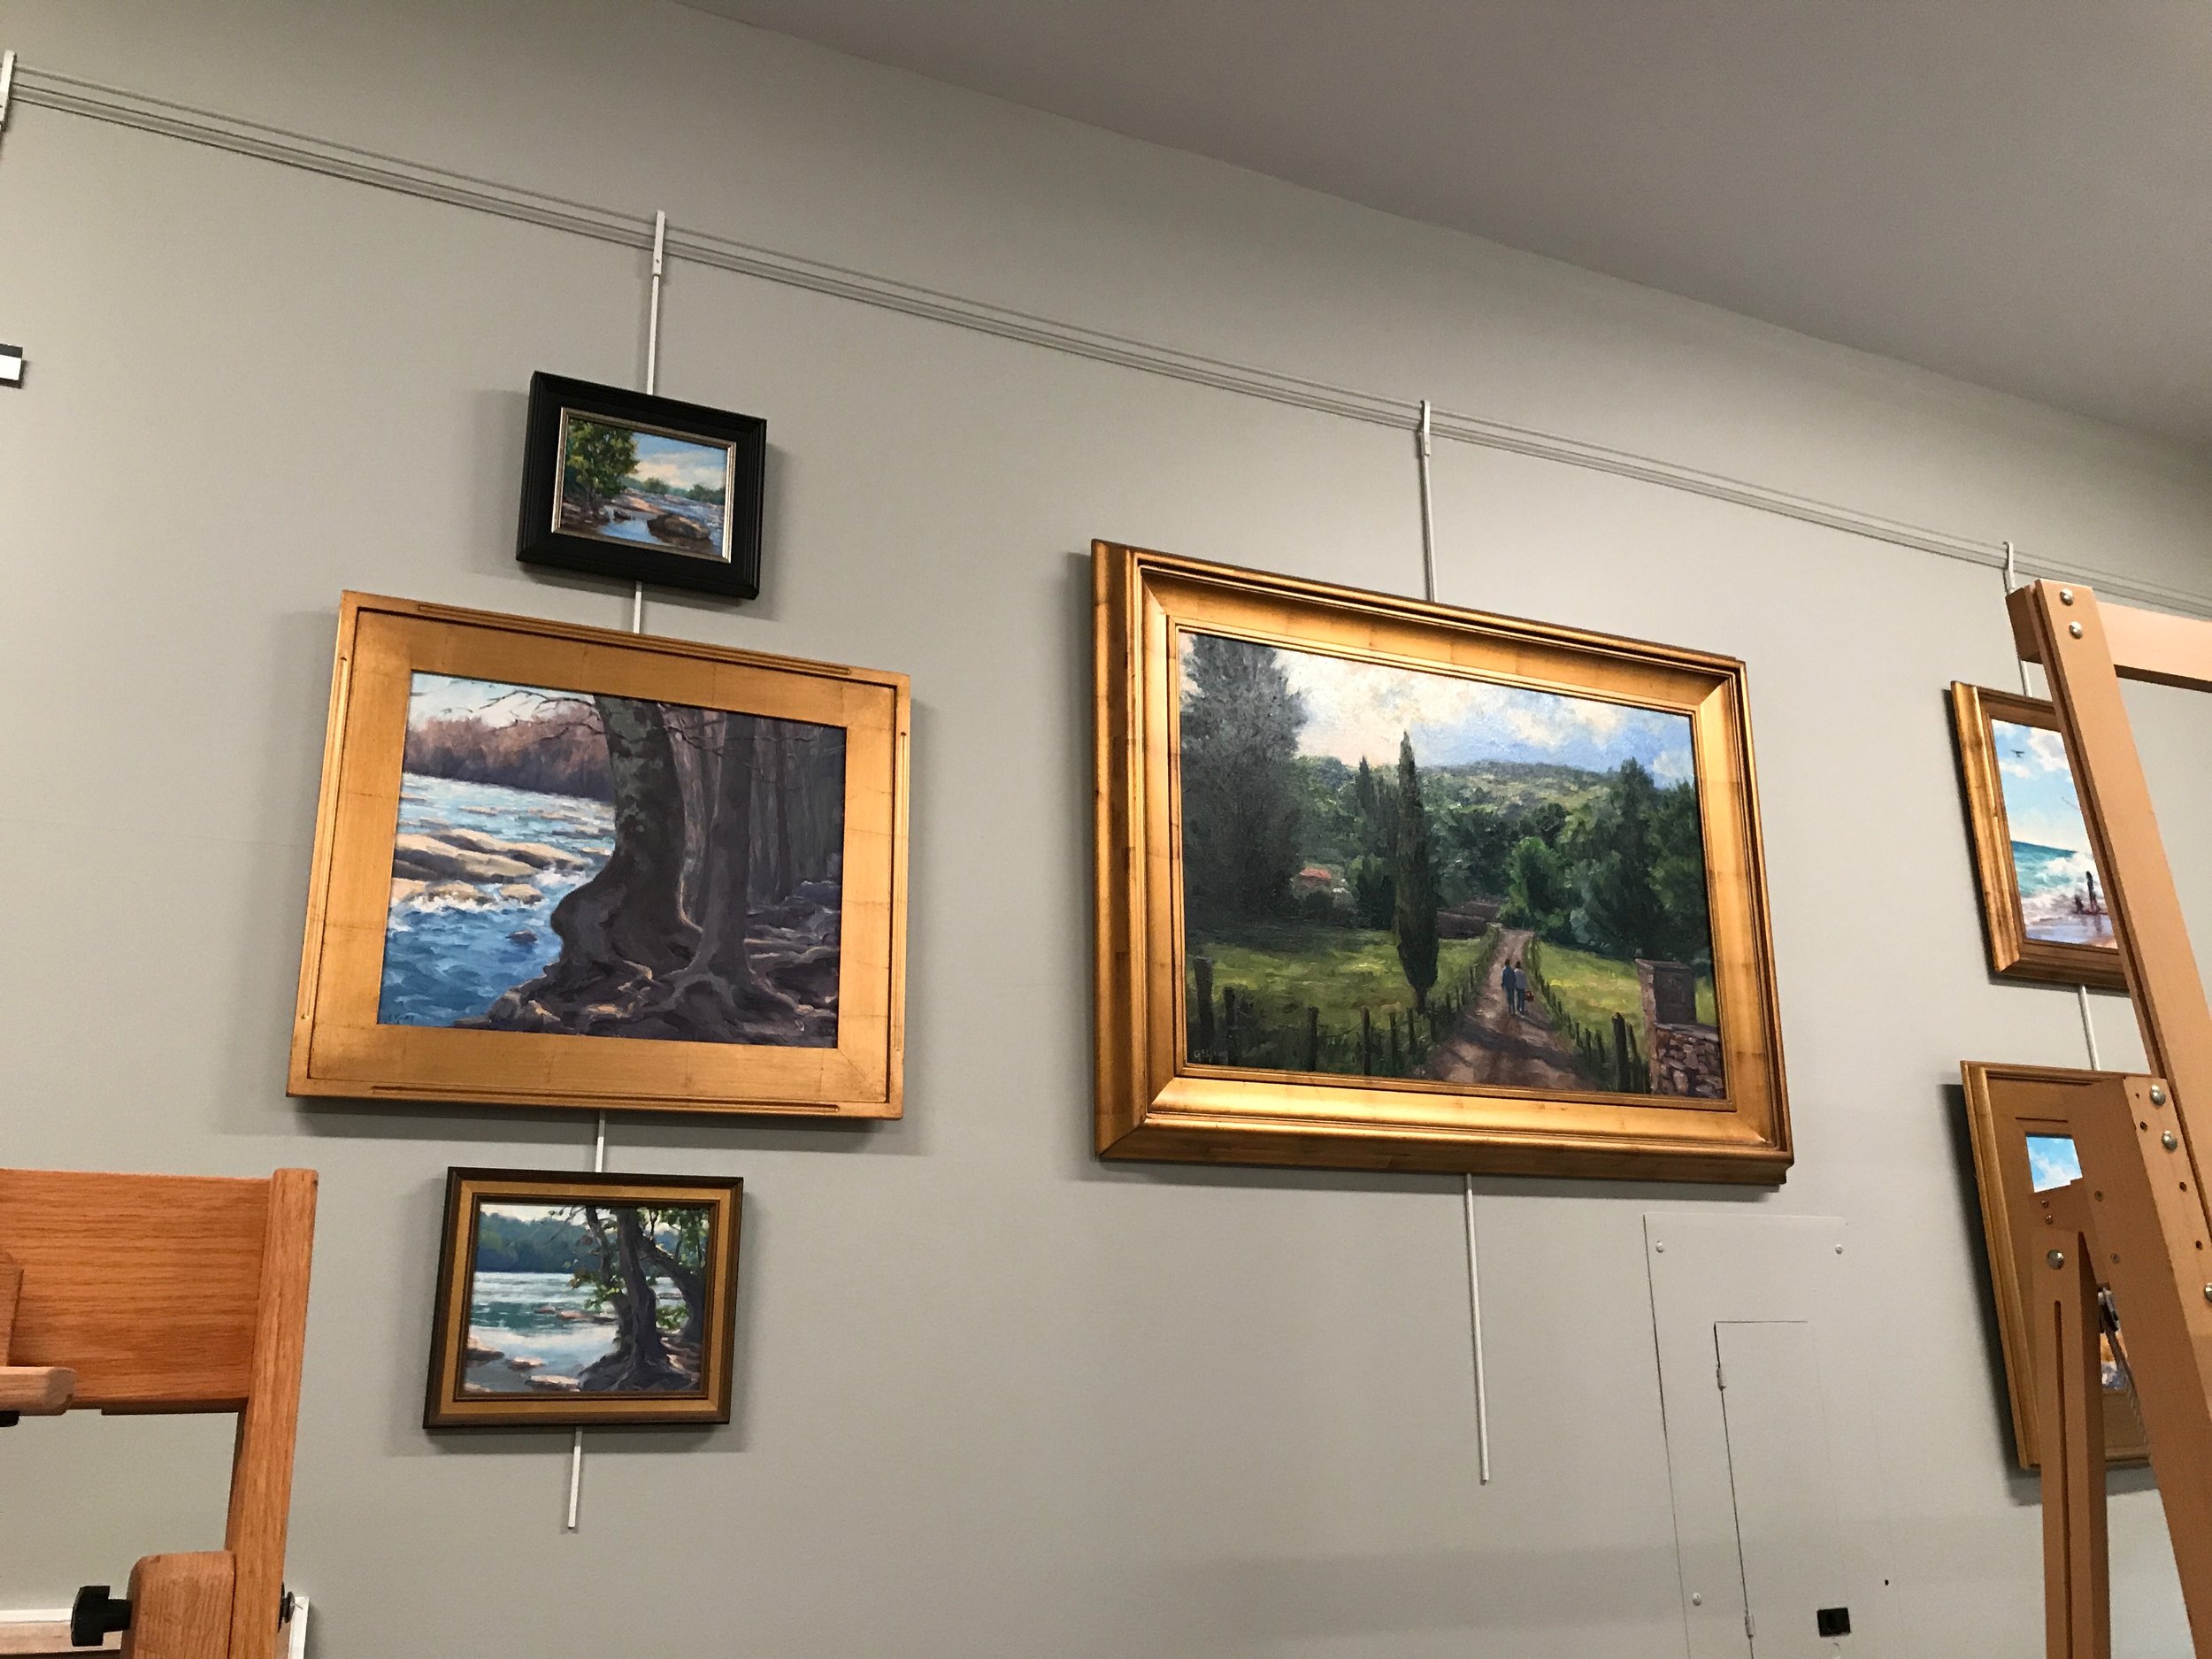
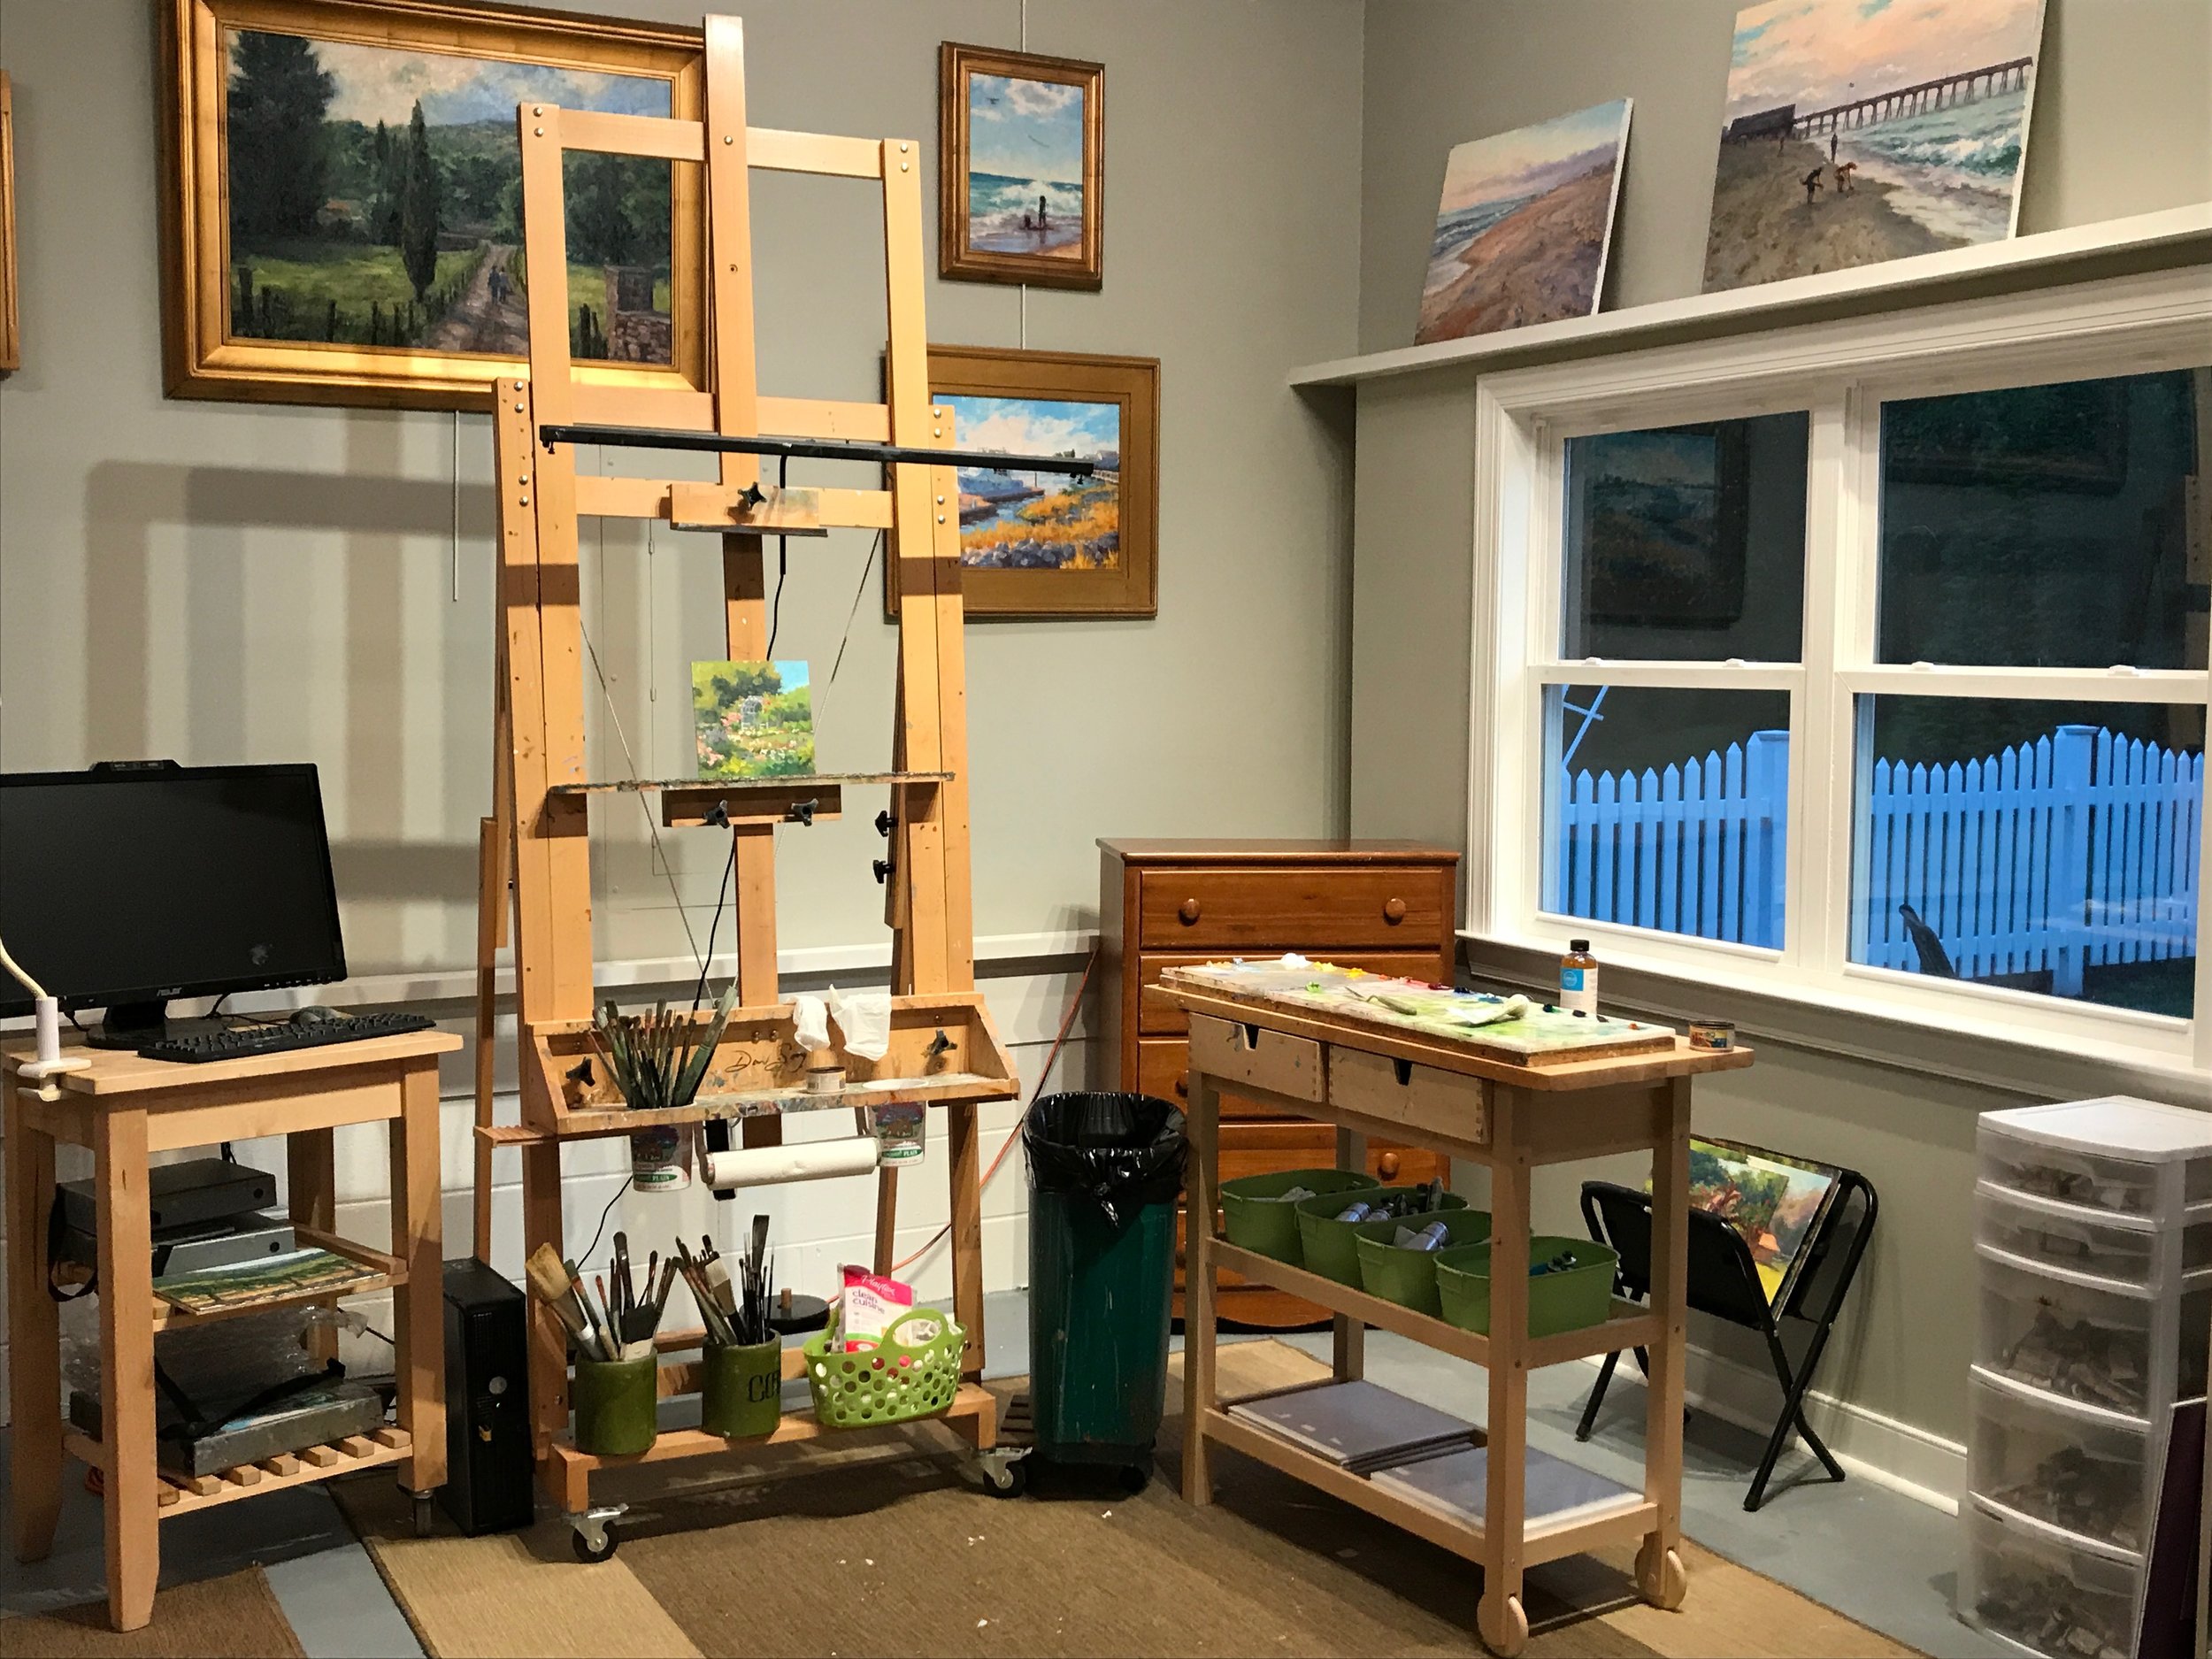
/Sometimes I am grateful for the cool rainy days of spring. It makes me feel like I can do things like clean my studio or prep my plein air panels and frames without the tinge of guilt and regret from not being outside in the thick of it painting all of that spring color. But without the prep work, the other doesn't happen, so hooray for rain and clouds and wind! :-)
This week I am preparing for a couple of upcoming events that I am excited to share with you. The first is coming up speedy-quick. It's a plein air painting event called "Plein Air Unleashed" in Whitestone, Virginia. I have never been to this area but from what I have read and heard, it sounds like a location ripe with subject matter for plein air painting.

Starting this Thursday artists will descend on the charming, sleepy towns of Whitestone and Irvington and unleash actual havoc with flying paint and violent brushwork! Seriously though it should be lots of fun scheduled over a long weekend this Thursday, April 26th through Sunday April 29th. Please visit the Plein Air Unleashed Facebook Page for all of the information on the demos and events planned. The paintings from the event will be on exhibit at the Allure Art Center through May 26th.
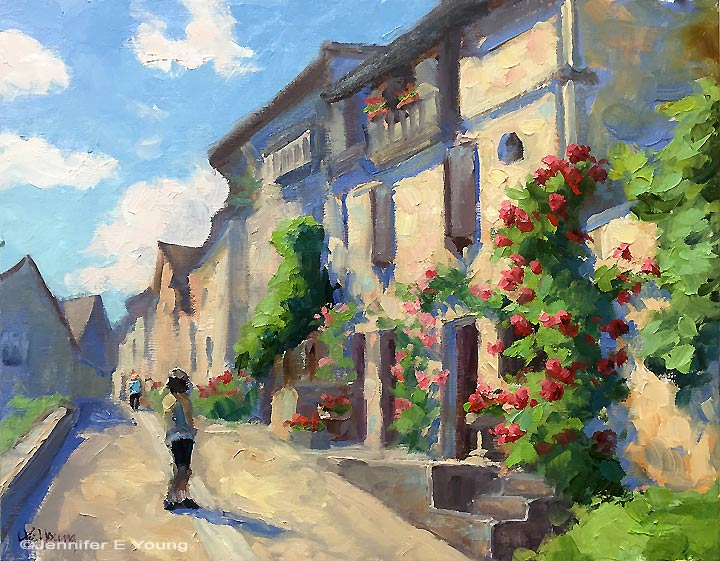
"Charmed In Beynac", Oil on linen, 11x14", will be included in the upcoming "April Showers Bring May Flowers" exhibit of flower-themed art at Gallery Flux.
Also this month I will be participating in a spring-themed exhibit at Gallery Flux entitled "April Showers Bring May Flowers". Come enjoy the color on display in this floral themed exhibit with works by over 20 artists. The variety of mediums, sizes and floral interpretations make an eclectic mix of artwork celebrating the beauty of spring. Opening Reception : Thursday, May 3, 2018 5:30-8pm. Exhibit continues through May 25th.
I hope to see some familiar faces at one or both of these events. If you are further afield, follow me online on Instagram and Facebook where I'll do my best to keep you updated!