Painting solvent-free with traditional oils
/Readers who have followed my blog for any length of time may know that I have been in pursuit of solvent-free painting methods for some time. My reasons are two-fold; it's better for my health and I simply don't like the mess of dealing with solvents on a regular basis.
So for the last 10 months or so, I have been painting pretty exclusively with Cobra water miscible oil paints by Royal Talens for my studio work, though I still used traditional oils outdoors for plein air painting. This worked fine, though I still struggled with certain aspects of my chosen materials. In the studio, while the Cobra paints worked really well and complemented my working methods, in other respects I missed the depth and richness that certain colors in my traditional oils provided to me. On the flip side, I still really hated having to carry around solvents when plein air painting. Both the weight of the liquid and especially the mess of pouring and emptying the solvents really bothered me.
So, after listening to artist Leslie Saeta's excellent Artists Helping Artists podcast featuring an interview with Robert Gamblin, (of Gamblin Artist Colors) I took special note of their discussion surrounding Gamblin's relatively new line of solvent-free gels and mediums. I will admit I have known about these mediums for a while, and even have some of them in my studio. But in truth I haven't done much with them, because other than thinning my oils in the beginning stage and cleaning my brushes between strokes, I don't use painting mediums and so I really wasn't sure how they would benefit me.
But in this podcast, when I learned that you can actually use solvent free gel to clean your brushes during the painting session, well, that got my attention. I can use my beloved traditional oils without a can of messy solvents in my backpack? Now you're talking!

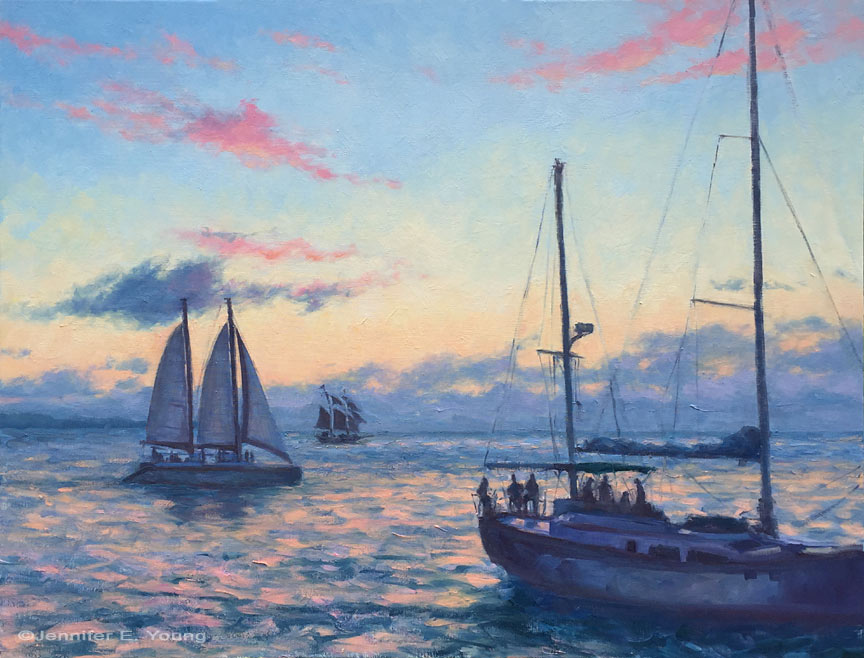
"At the Ready", Oil on linen, 16x20" ©Jennifer E. Young
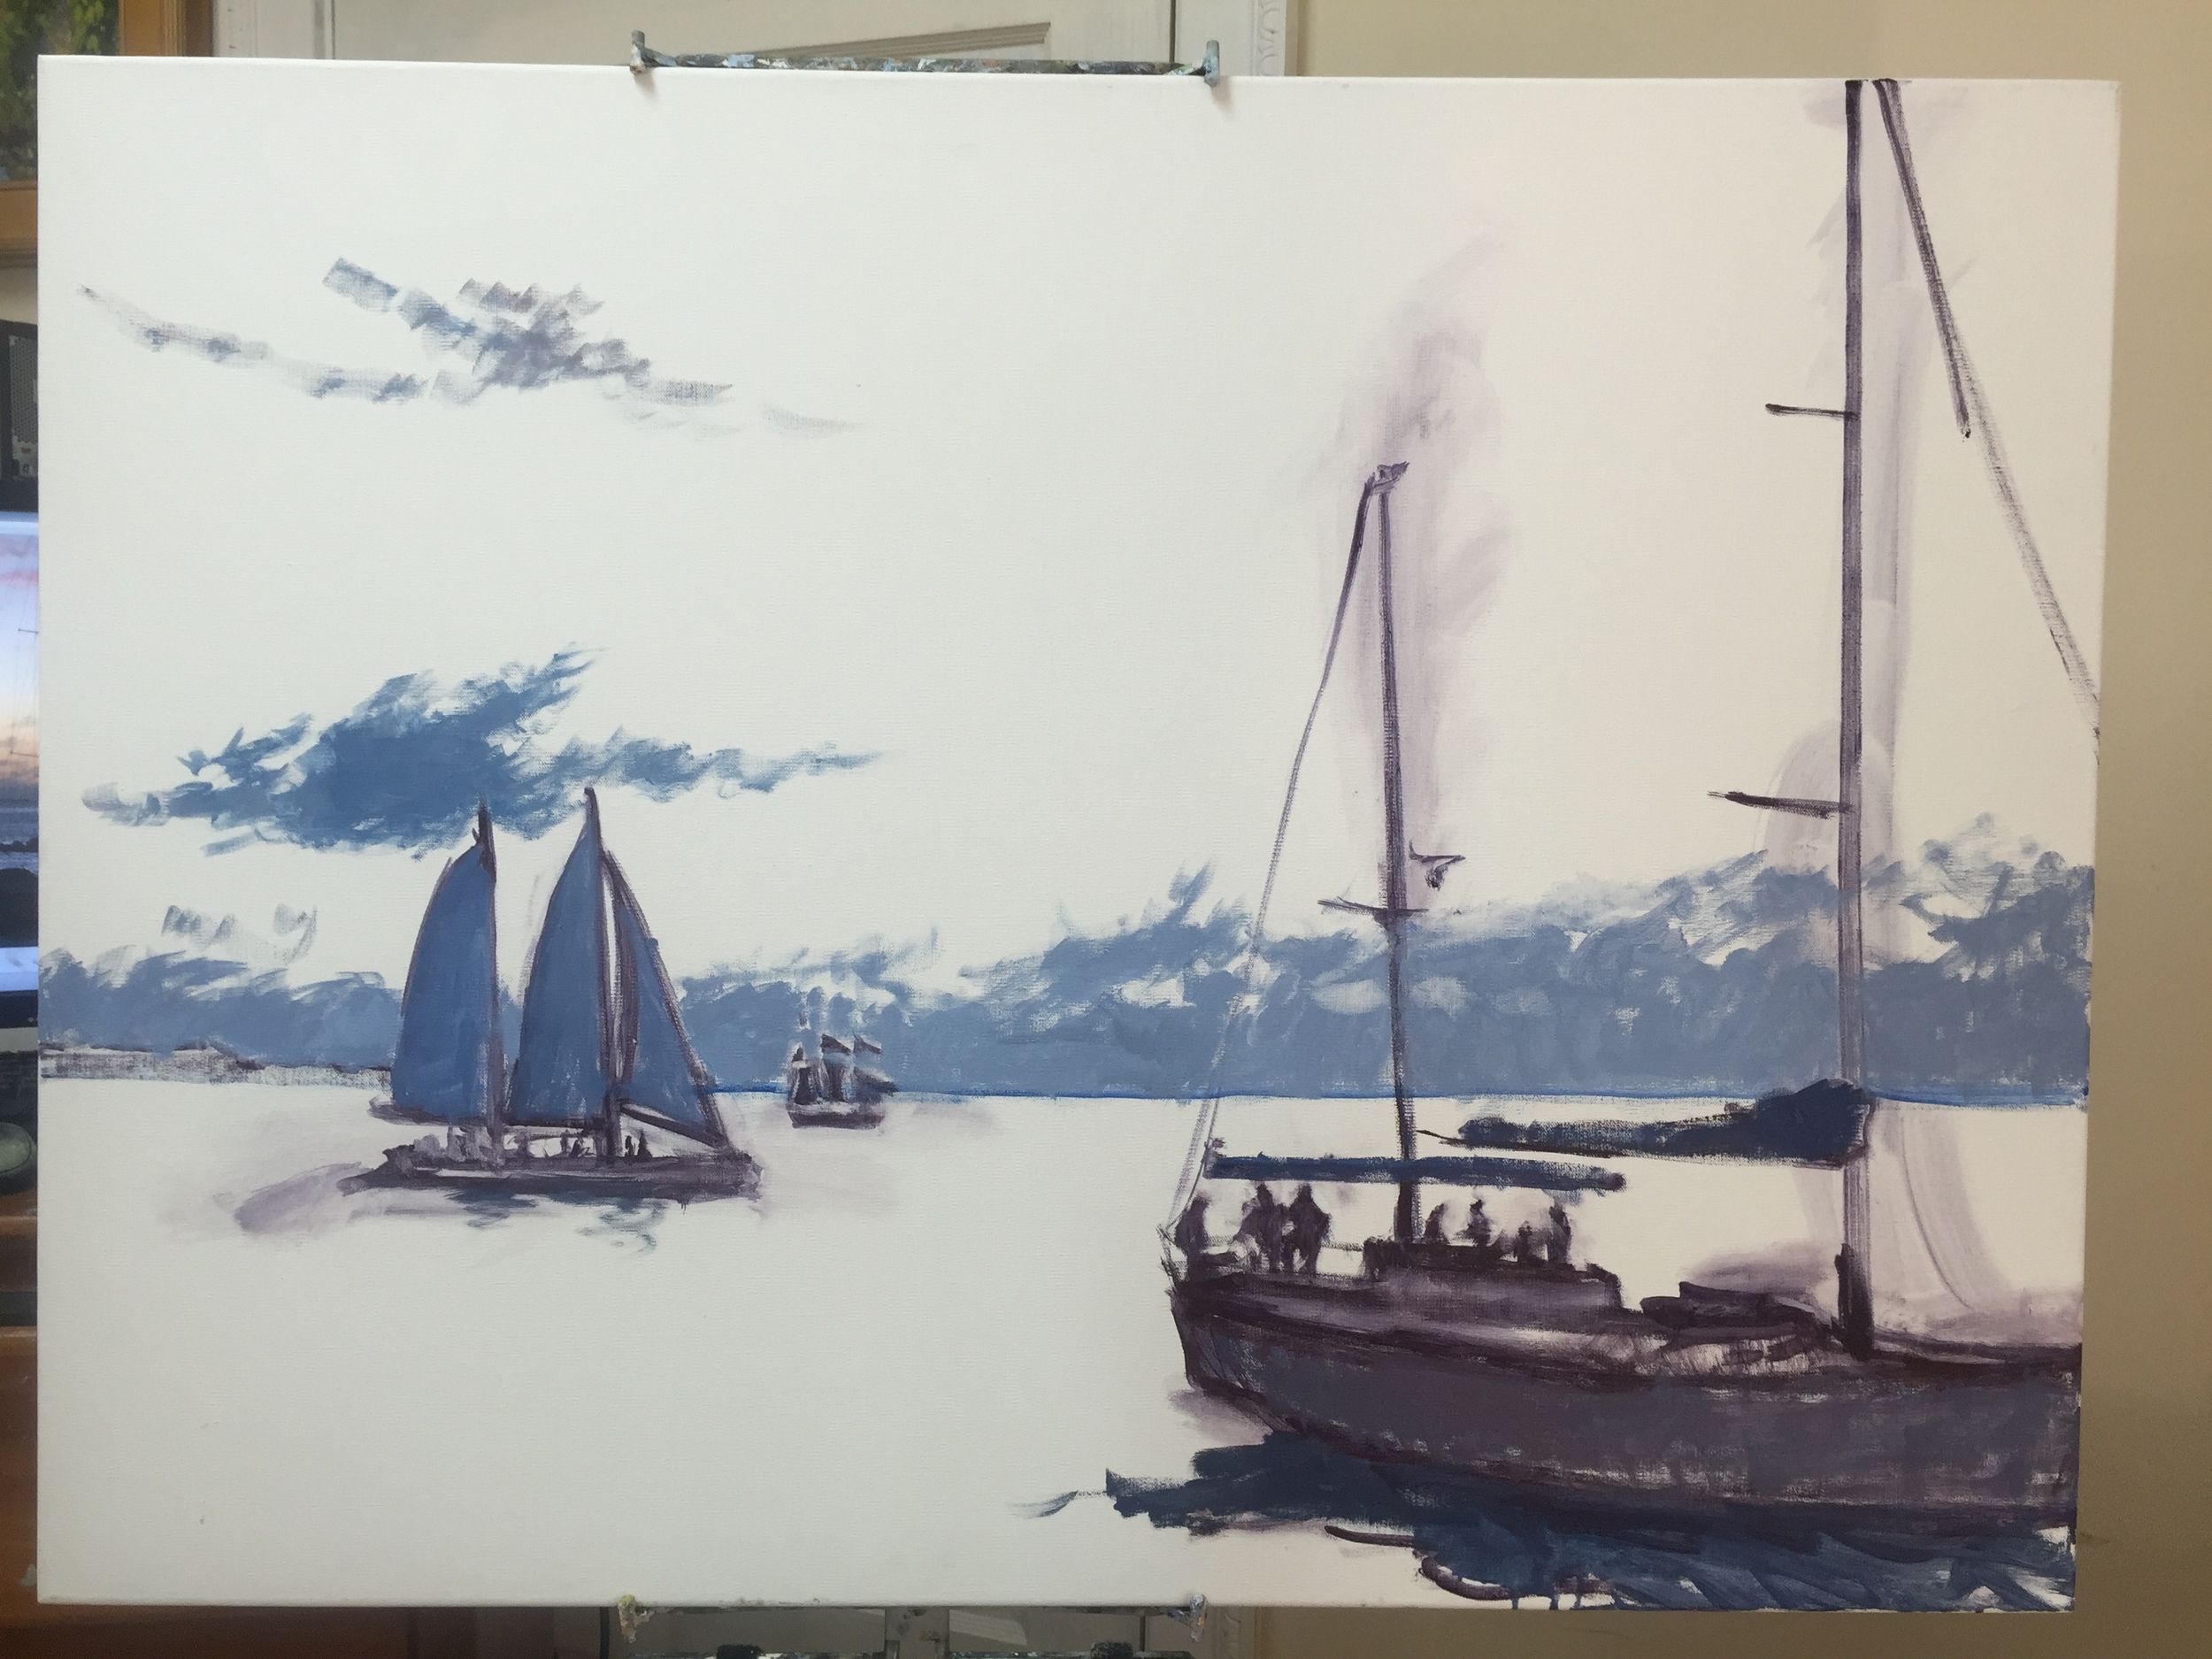
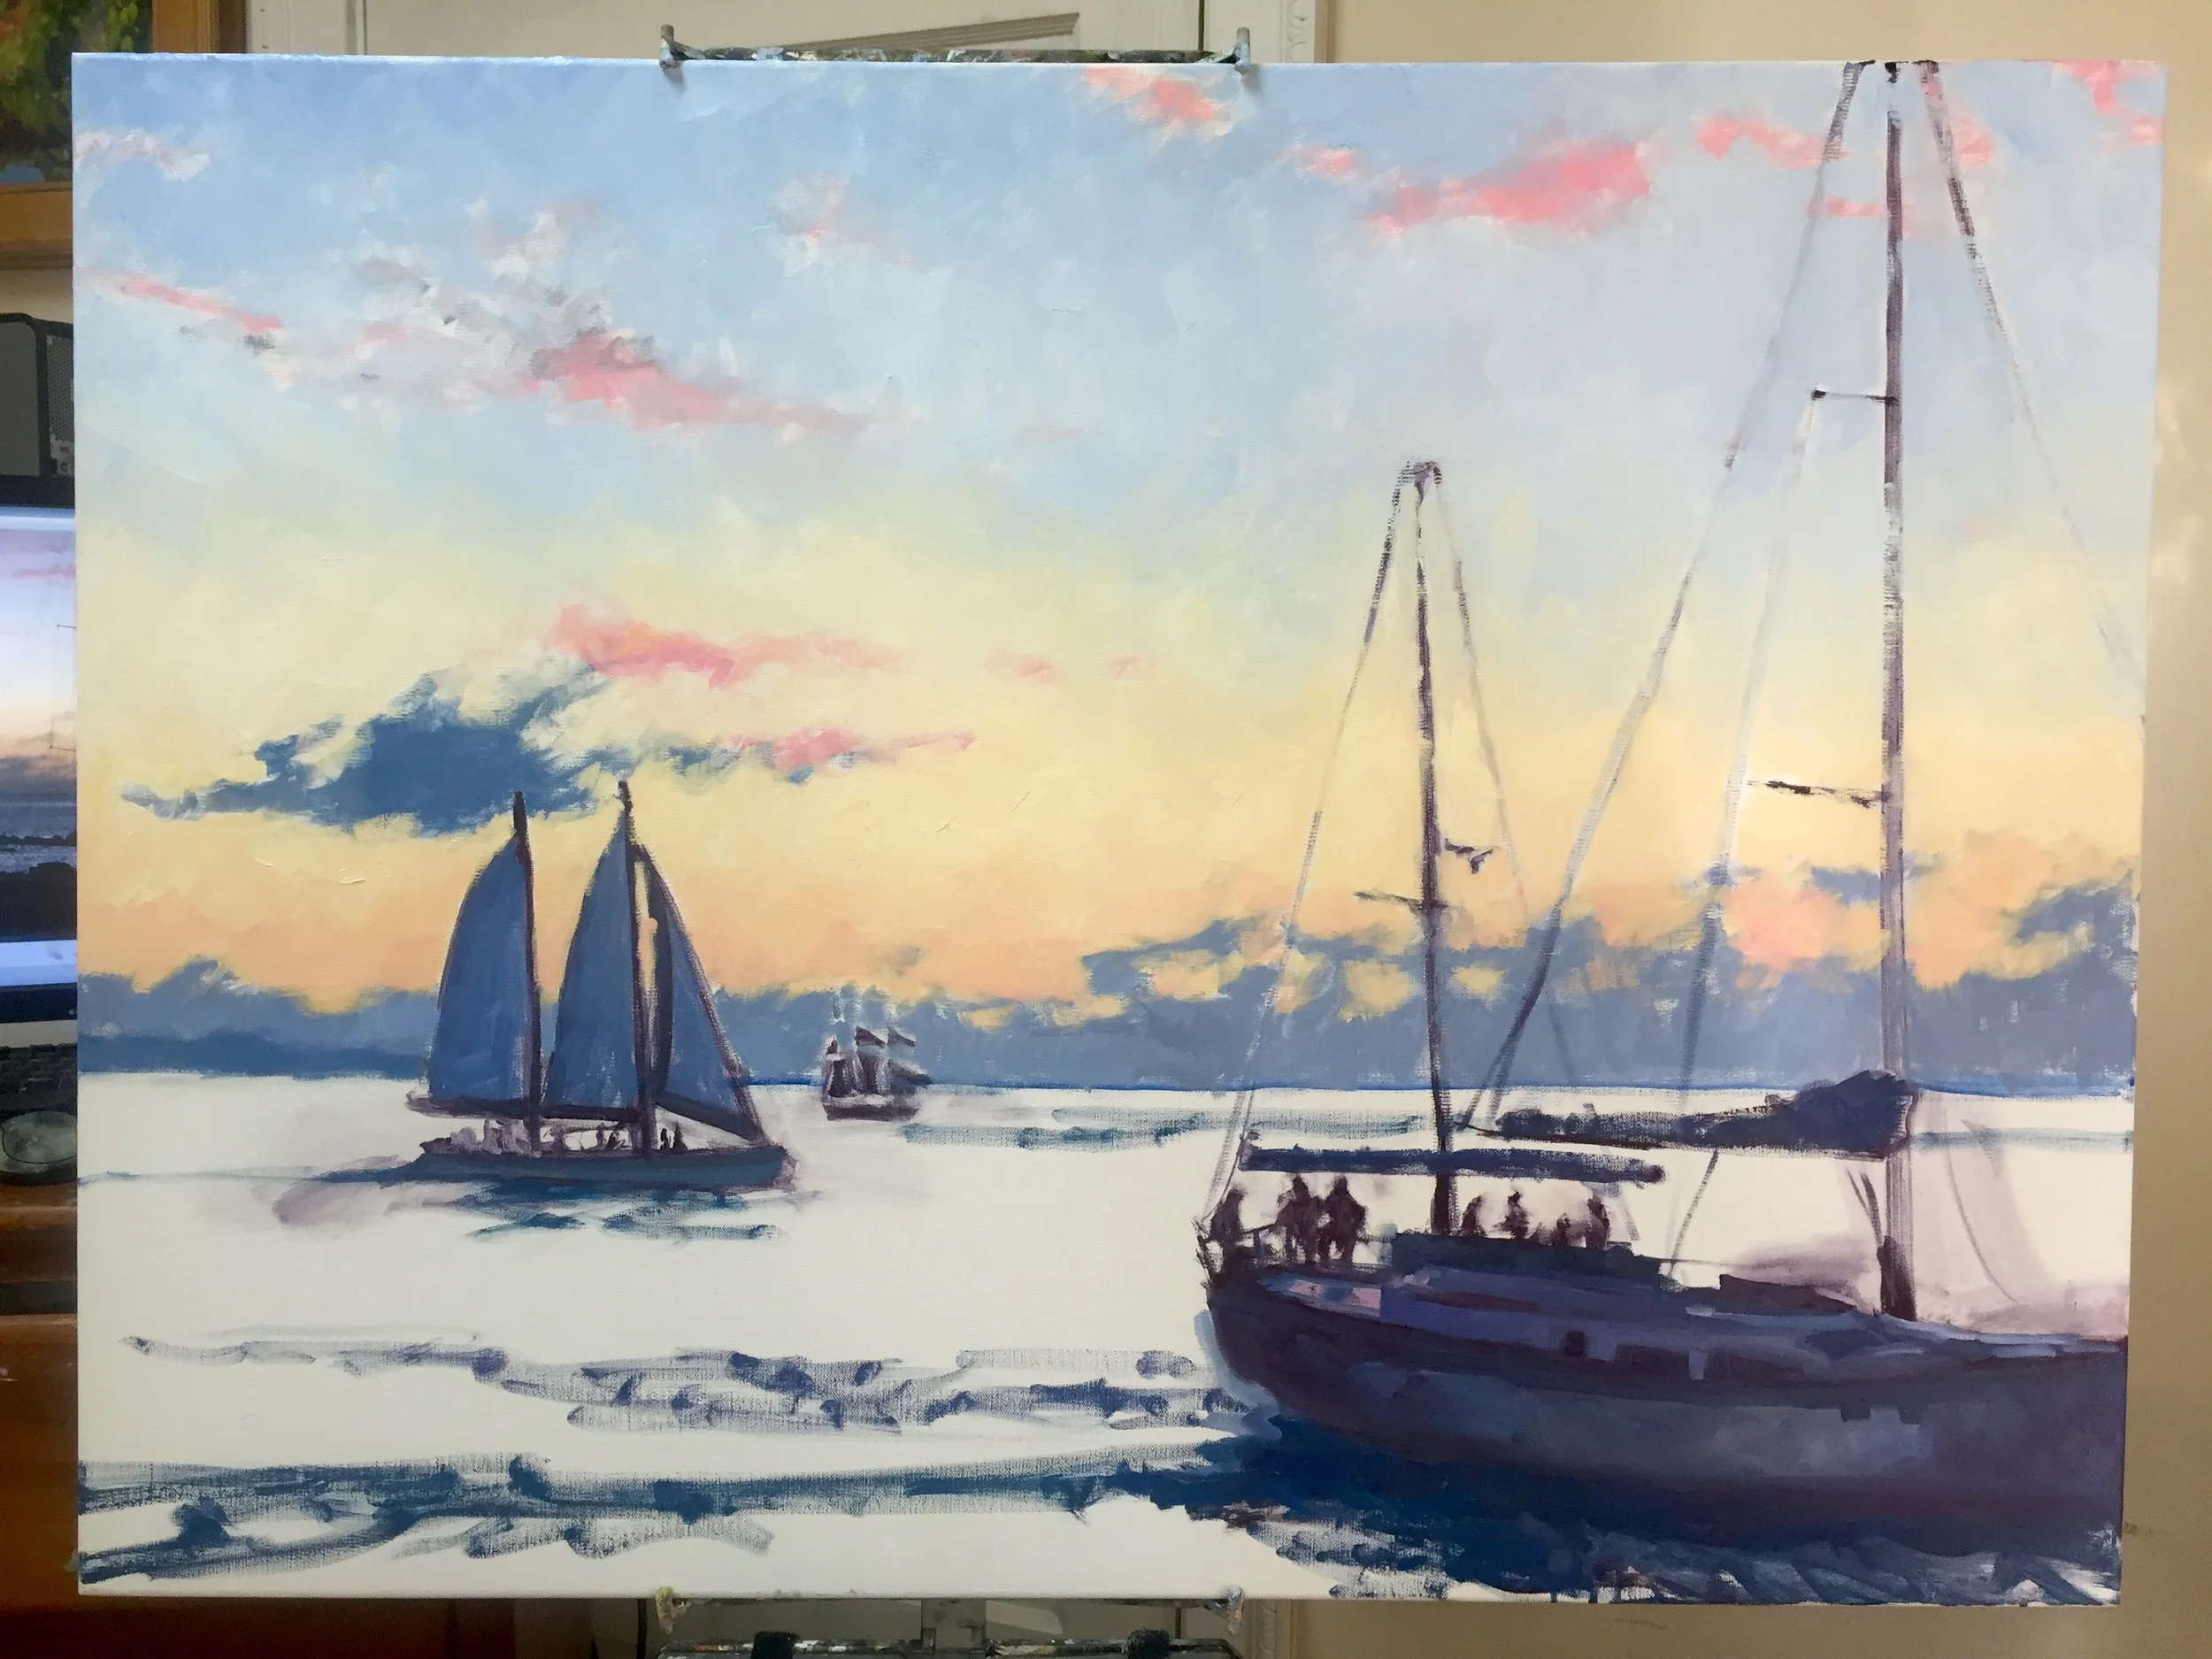
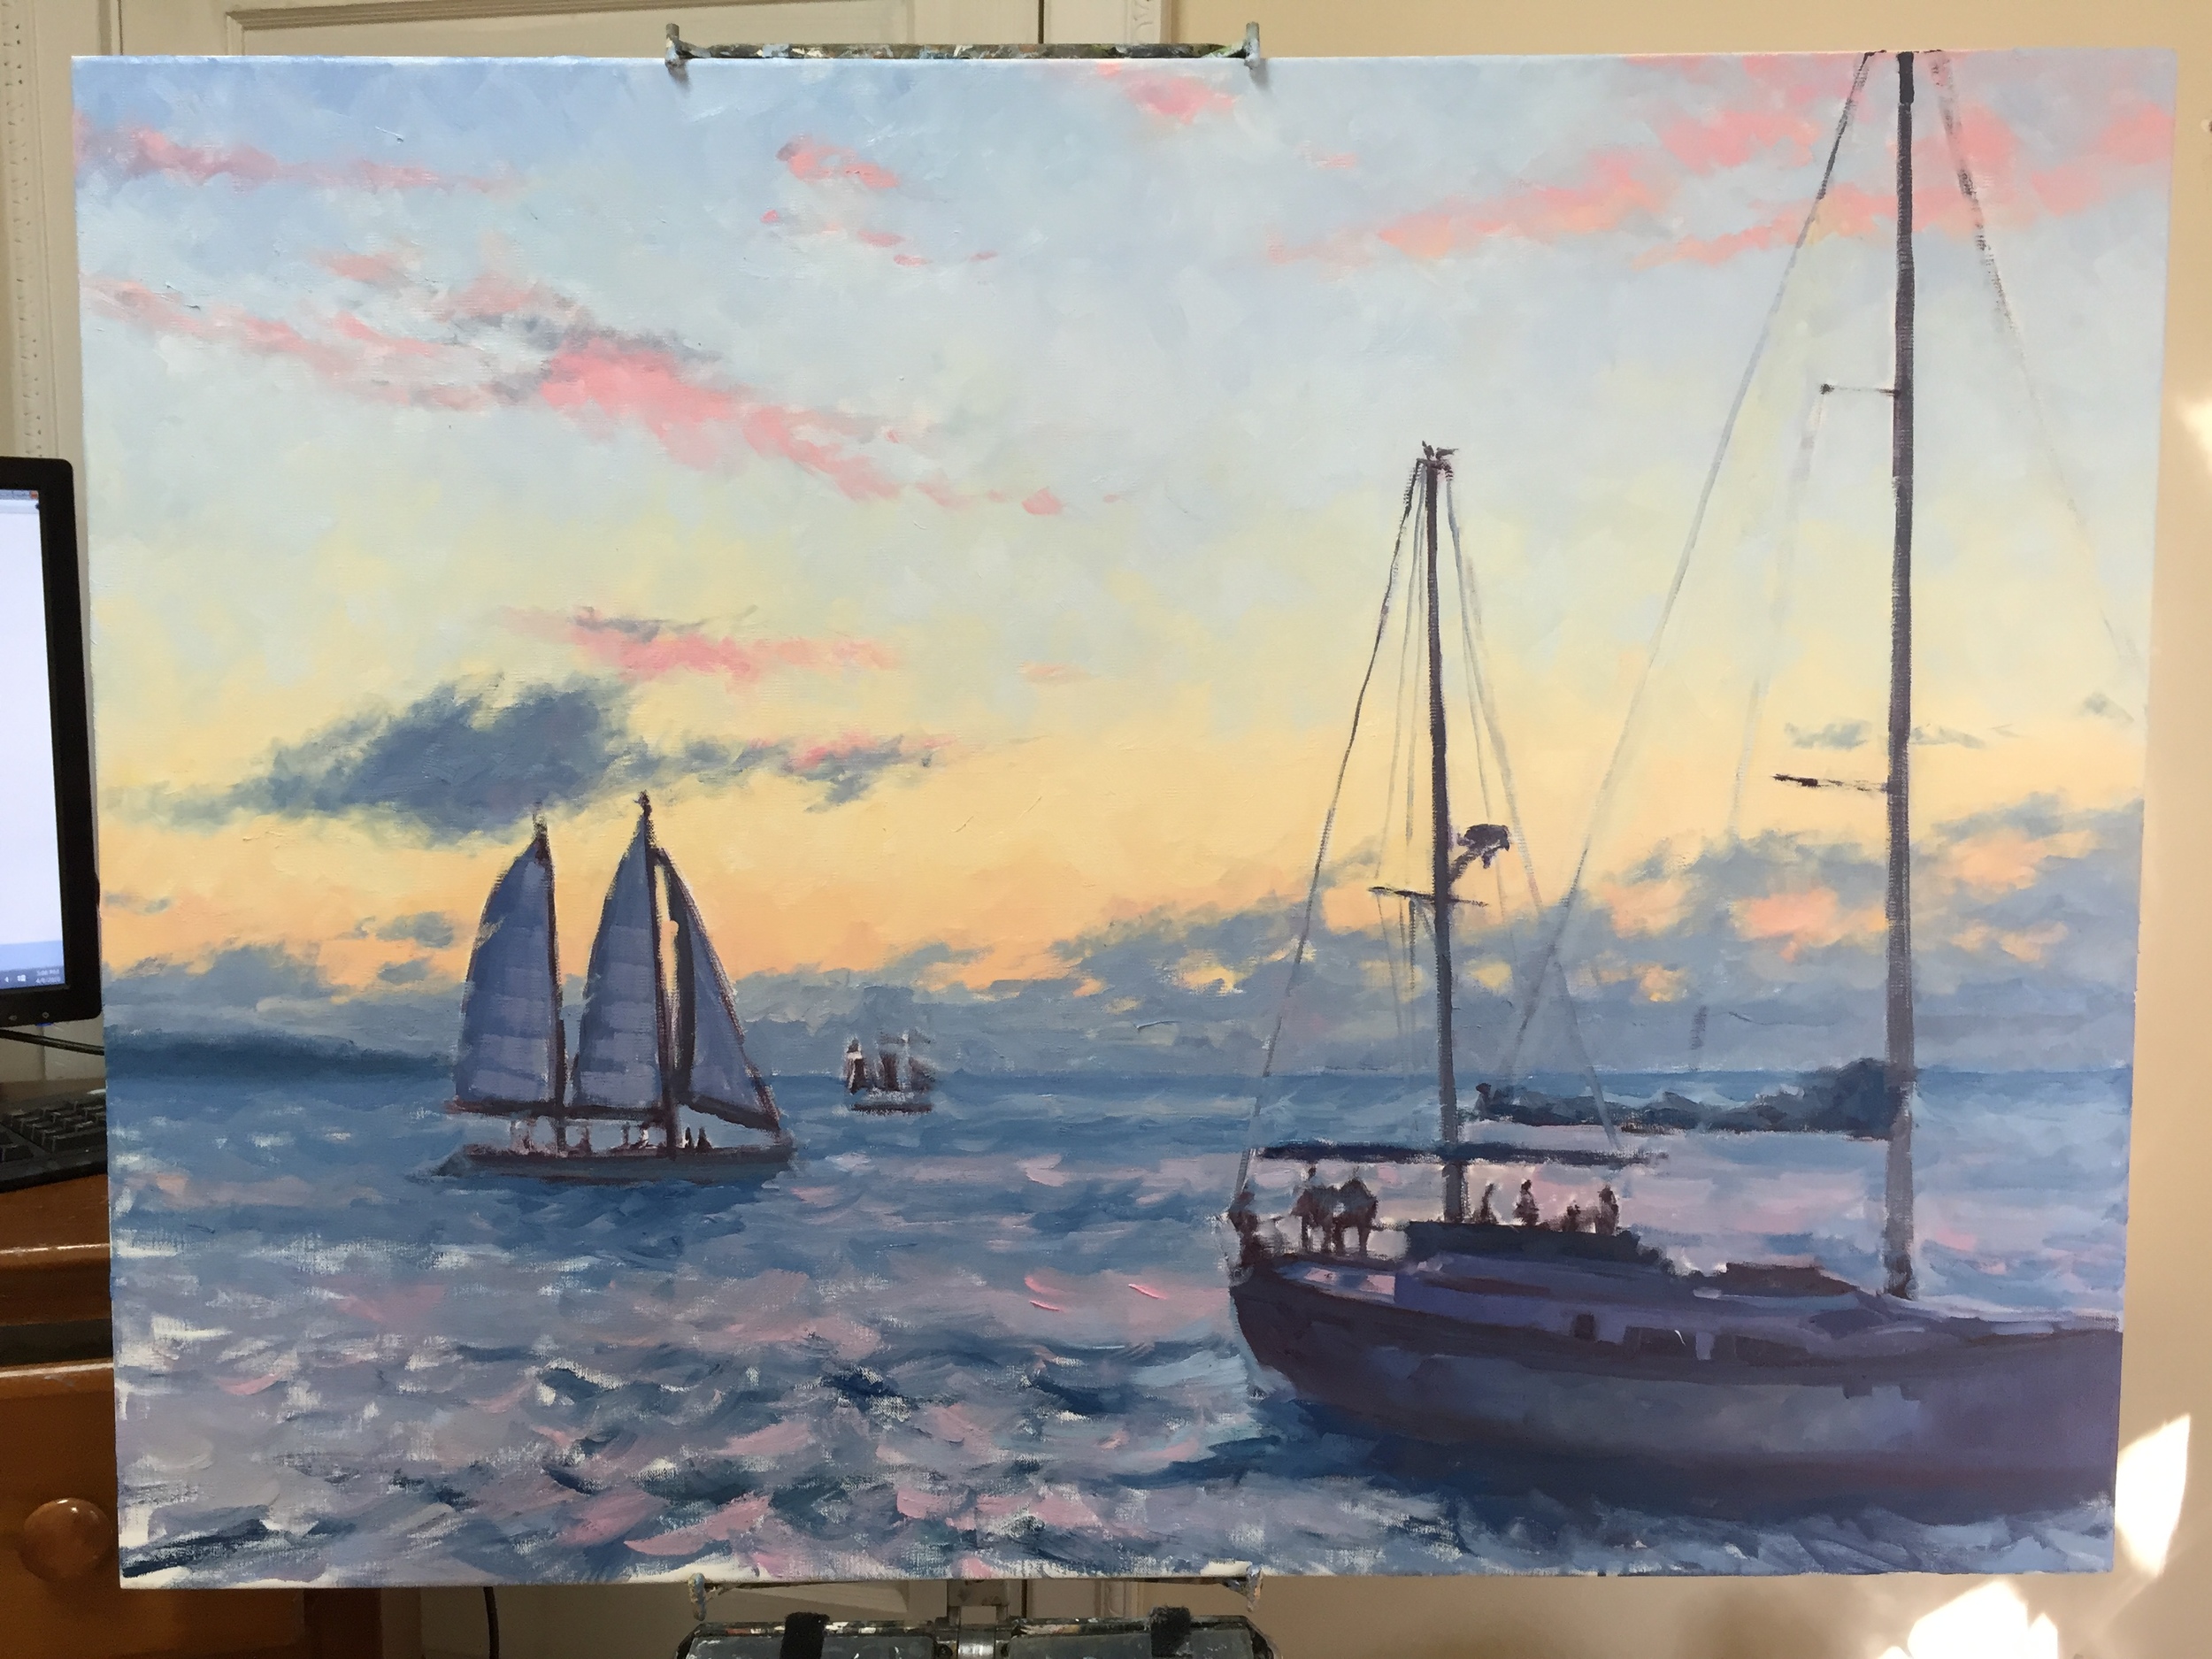
To experiment with the working properties of the method discussed, I executed the above painting in the studio. I did use a small amount of Gamsol in the beginning stages of my painting to adhere to the fat-over-lean principle of painting in oils. But I can carry this in a small container (a repurposed bottle no larger than an eyedropper that it once held my Argan face oil) to squirt out a just little onto my palette for whatever small amount of thin washes I may need. After that point, though, I paint with mostly just paint, maybe using the solvent free gel to get a little bit of slip in my stroke when needed, but mostly for cleaning off my brushes between strokes.
For clean-up on site, I wipe my brushes clean with the medium, maybe with one last squirt of Gamsol from my little bottle, before packing everything up . The final clean up takes place back in the studio. Different artists use different things to wash their brushes, from Murphy's Oil Soap to baby oil to plain old soap and water. I've used these too, but my favorite is Master's Brush Cleaner. This stuff comes in a tub and lasts forever. I can't even remember when I bought my current tub and I'm only about 1/3 of the way through. I just wet my brushes, swish them around in the tub, and the remaining paint is easily washed out under water. Something about this stuff seems to really get the oil residue off of the bristles and condition them at the same time. I don't know what's in that magic tub, and I'm not sure I want to know. But it seems pretty innocuous, though I always wear my gloves now when handling my art materials.
I'm really happy to be reunited with my traditional oil paints. I still like the water miscible oils, but it's hard to shake that first love, and now, it seems, I don't have to.