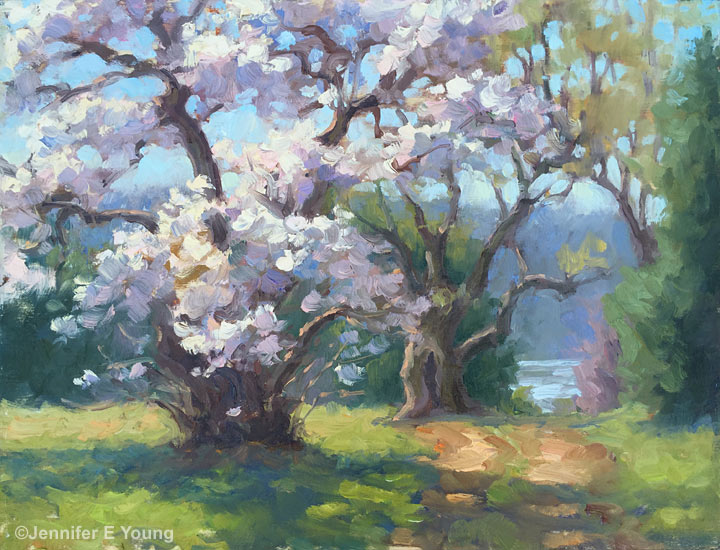
Reworking and "oiling out"

Each year my family looks forward to our annual beach week on the Outer Banks of North Carolina. I have written a lot about how much I love painting down there. A week never feels like enough time, but this year it feels like a lost luxury because the family made the tough decision to cancel our rental due to the risks of traveling during COVID19.

Needless to say I am feeling very nostalgic for the beach, and have spent a lot of time looking the painting, “Radiant Dawn,” which I painted a couple of years ago during another pivotal time of my life. This was the view from the bedroom balcony of our beach rental, and I hung it up in our living room to transport me back there in spirit. It was an emotional time for me but the awesome beauty of this sunrise lifted me up and gave me a deep sense of connection, hope, and gratitude.

sunrisenagshead.jpg

But of course the artist in me started to analyze the painting each morning as I “enjoyed” it from our breakfast nook. While I love the sky, I found myself really wanting to rework the lower portion of the piece. I found it altogether too green and too dark, and it did not evoke the feeling of “dunes” to me. I remember WHY I painted it this way, (I didn’t want to make the painting too busy and detract from the sky) but it just wasn’t working for me.

Sometimes when I rework a painting I have to sand the area down or even first scrape down some of the built up paint texture ever so gently with a razor blade. Otherwise the previous brushwork underneath is too distracting. In this case the surface was relatively uniform. It was, however, a bit slick and required some “oiling out” to assist in the adhesion of the new paint layers. To rework a dry painting I may use a bit of my painting medium mixed with Gamsol, or even a light spray of retouch-varnish applied to the area. For this piece, just oiling out with Gamsol seemed to be enough.

“Radiant Dawn,” Oil on linen, 24x30” ©Jennifer E Young

“Radiant Dawn,” Oil on linen, 24x30” ©Jennifer E Young

I basically reworked the lower third of this painting, leaving the sky completely alone. (It may look like I did more to the sky, but that’s because I think I did a better job of color correction on my digital image this time around.) Painting everything in a close value range can be a challenge, but an important one to keep the sense of unity I was after from the start. Here is the newly adjusted piece, with changes that my family didn’t even notice 😂. Oh well! I feel happier about it, so I guess that’s what’s important.

P.S. “Oiling out” and reworking are generally not advisable to do over a final varnish unless you can completely remove the varnish layer due to possible problems with cracking that can ensue. I always use retouch varnish though, both for this reason and because personally I don’t find final varnish necessary.

Change is Good (on revising oil paintings)

I’m not afraid of anything in this world
There’s nothing you can throw at me
That I haven’t already heard
I’m just trying to find a decent melody
A song that I can sing in my own company
— Songwriters: Adam Clayton / Dave Evans / Larry Mullen / Paul Hewson (U2)

I've heard it said that there's nothing new under the sun, and that's probably true when it comes to painting. Nevertheless,  I never stop striving to improve, both in terms of technique and in how best to express myself. I want to make work that speaks to me and hopefully speaks to others as well. No one painting can say everything and I don't expect it to. The best paintings say just enough, with sensitivity, but without overstating. 

And then there are the ones that need re-stating. :-/  Often with such paintings it is easier to just wipe down or tear up my first effort and see if I can try again on a fresh canvas. Sometimes though,  it seems worth the effort to attempt a revision first before scrapping the whole darn thing. If the painting is fresh and new, reworking is a fairly easy and straightforward task, as there isn't an under-layer of built up paint to compete with.

But it may not occur to me right away exactly what change is needed, and it's only after sitting with it a while that I want to go back into it again. In these cases, a little bit of elbow grease is required, both to ensure proper adhesion of the new paint layers and to knock down any unwanted texture. 

My painting, "Rugosa Coastline" is a studio piece that was based on a smaller plein air piece I did when I was up in Maine. After a few months of thinking about it I decided that it lacked something that the plein air piece captured. I felt the studio piece was labored, overall too busy, and the colors, especially in the foreground greenery,  too intense for the time of day. So I set to work to see if I could make a few changes, to maybe loosen it up, and tone down the colors to ones more faithful to the time of day I was trying to capture.

First pass of my 24x30" studio painting based on the smaller plein air piece below.

First pass of my 24x30" studio painting based on the smaller plein air piece below.

"Day's End, Lane's Island", Oil on linen, 11x14" ©Jennifer E Young

"Day's End, Lane's Island", Oil on linen, 11x14" ©Jennifer E Young

My first order of business was to knock back some of the texture. Not all texture in the under layer is bad, but if there is  a lot of texture that shows through as a "ghost" image I will sand it down a bit. If it's really built up I may find I need scrape it away razor blade, very carefully, (and pray I don't poke a hole in the canvas). 

Next I will "oil out" to give the new paint layer better adhesion to the partially dried layer underneath. To oil out, solvents or medium (or a combination) is brushed in a thin layer on the surface of the portion of canvas you want to rework. Most often I just use a little Gamsol for this purpose. 

"Rugosa Coastline" (SOLD) Oil on linen, 24x30" ©Jennifer E Young

"Rugosa Coastline" (SOLD) Oil on linen, 24x30" ©Jennifer E Young

The resulting painting was still a bit different than the little plein air piece, but it felt truer to the time and place and to the feelings that I had when creating the painting on the spot. I felt significantly happier with the revised version of this painting, and wouldn't you know, someone else did too? It sold not long after the revision. 

Tune in to part two in my next post, where I'll share another revision I undertook, which ended up with more extensive and fairly dramatic changes. 

Spring in my step

What a difference a week makes. Last week the earth was still pretty brown and bare in our neck of the woods, but this week heralded in some lovely warm springlike weather. And with that came the flowers. Cherry blossoms and spring blooming magnolias seemed to open up over night, along with the daffodils and forsythia. I always feel such a great sense of hope and renewal in the springtime.

Tuesday is one of my two "long days" that I have to work, so I readied myself Monday night for my plein air outing. I decided that since this was my first plein air painting in a while, I should kick off with a known quantity. So I paid a visit to Maymont Park. This would prevent me from wasting time driving around looking for the perfect spot, as I had visited the week prior with my daughter and knew exactly where I wanted to set up. 

"Spring Renewal", Oil on Panel, 9x12" ©Jennifer E Young

"Spring Renewal", Oil on Panel, 9x12" ©Jennifer E Young

Just one week earlier, I had brought my daughter to this beautiful park, and at the blooms were still pretty new. I was hoping against hope they would endure, and luckily I wasn't disappointed. Here's a shot of my work setting for the morning. Not a bad way to punch the time card, eh?

My plein air painting in process

My plein air painting in process

I retired the Soltek last summer after a trip to the beach kind of did it in. These days I'm really enjoying my Coulter Easel. It's fast, easy and sturdy. Here's my setup:

image.jpg

I've had a piece of Plexiglas cut to fit in the palette area. The brush holder is an envelope style with a little loop on the top, allowing me to loop it over the handle of my tripod and tuck into the back of the palette. The little jars are holding my oil and solvent free medium. You can't really see it in this picture, but those two clips on the left wing of the palette hold a mesh basket that I picked up in the $1 - $3 bin at Target. It has pockets around the perimeter suitable for holding the tubes of paint I reach for most often. I prefer this basket over a plastic bag for my dirty paper towels because it stays open. Also, it doesn't blow around in the wind. 

I've only had this easel since the fall and it's already smeared with paint. I'm a slob; it's a problem. In any event, I look forward to smearing it up even more this spring!

To begin anew

Happy New Year! Yes, I know I'm about a week late with that, and it's even likely that hearing that phrase for the millionth time has the same effect as being presented with a fruitcake after (or even during) the holidays. But 2015 kind of went out for me with a crash and a bang ( health-wise) and a flare up of an old autoimmune condition as well as a possible fun new one too. So I'm kind of in reset mode, attempting to restore health through diet and lifestyle changes. It can all be a bit time consuming and maddening, especially thrown in on top of the usual mayhem of the holiday season. So, order to restore my sanity, and  since nobody seems to know what exactly is causing all of this mischief at the moment, welp, I might as well get back to painting! 

sunsalutation_wip_jenniferyoung

This is a work in progress, and the second version of this subject I started over the holidays.  I never posted the first because it didn't live up to what I had in my head. So far this second one is closer, but still so far away. I have had a lot of stops and starts, so that may be part of the problem. I actually hesitated to post this one too, as I'm not sure if I will finish it or just start on something else altogether. I will keep going further with it to see where I can take it, but sometimes it can get pretty frustrating when your insides don't quite match up with your outsides ( I guess life imitates art after all!) 

Some while back, there was a video floating around on YouTube that featured a short talk by Ira Glass, public radio host of "This American Life", about this anxiety and discomfort that can accompany the Creative Process. He summed it up so perfectly I will share it here, as this seems to be a recurrent theme in my own creative life.   

While Glass talks about these pitfalls as a beginner problem, I am here to tell you that it is something most creatives contend with periodically even if they've been at it a while. While what he says feels somewhat comforting, at times it can also feel like a curse. But deep down I know that I've been blessed by what art has given me, and that often the expansion of growth doesn't happen without some pain of contraction. It's just you can't stay there. As Glass says, the antidote is to fight your way through, make the art, and make a lot of it. In art as in life, there is ebb and flow, ebb and flow. And if we can weather the storms, there is the chance to begin anew.