
On Color and Social Media, Obsession and Restraint
/Is it possible to be addicted to a paint color? I'm not sure that's a good thing, as I don't like the feeling of being overly-dependent on anything. So I am really trying to temper my use, while at the same time exploiting the values of having it around. This also describes my experience with Social Media, and particularly with Facebook. I imagine Facebook still has some value to the small business, but on a personal level, it can prove a real time-waster, not to mention maddening, irritating, and downright invasive. On a personal level it's also a source of inspiration and community and sharing, which is why I joined up in the first place. But it is really hard in this case to exploit the positives while also avoiding the darker temptations and traps, so I am limiting myself overall.
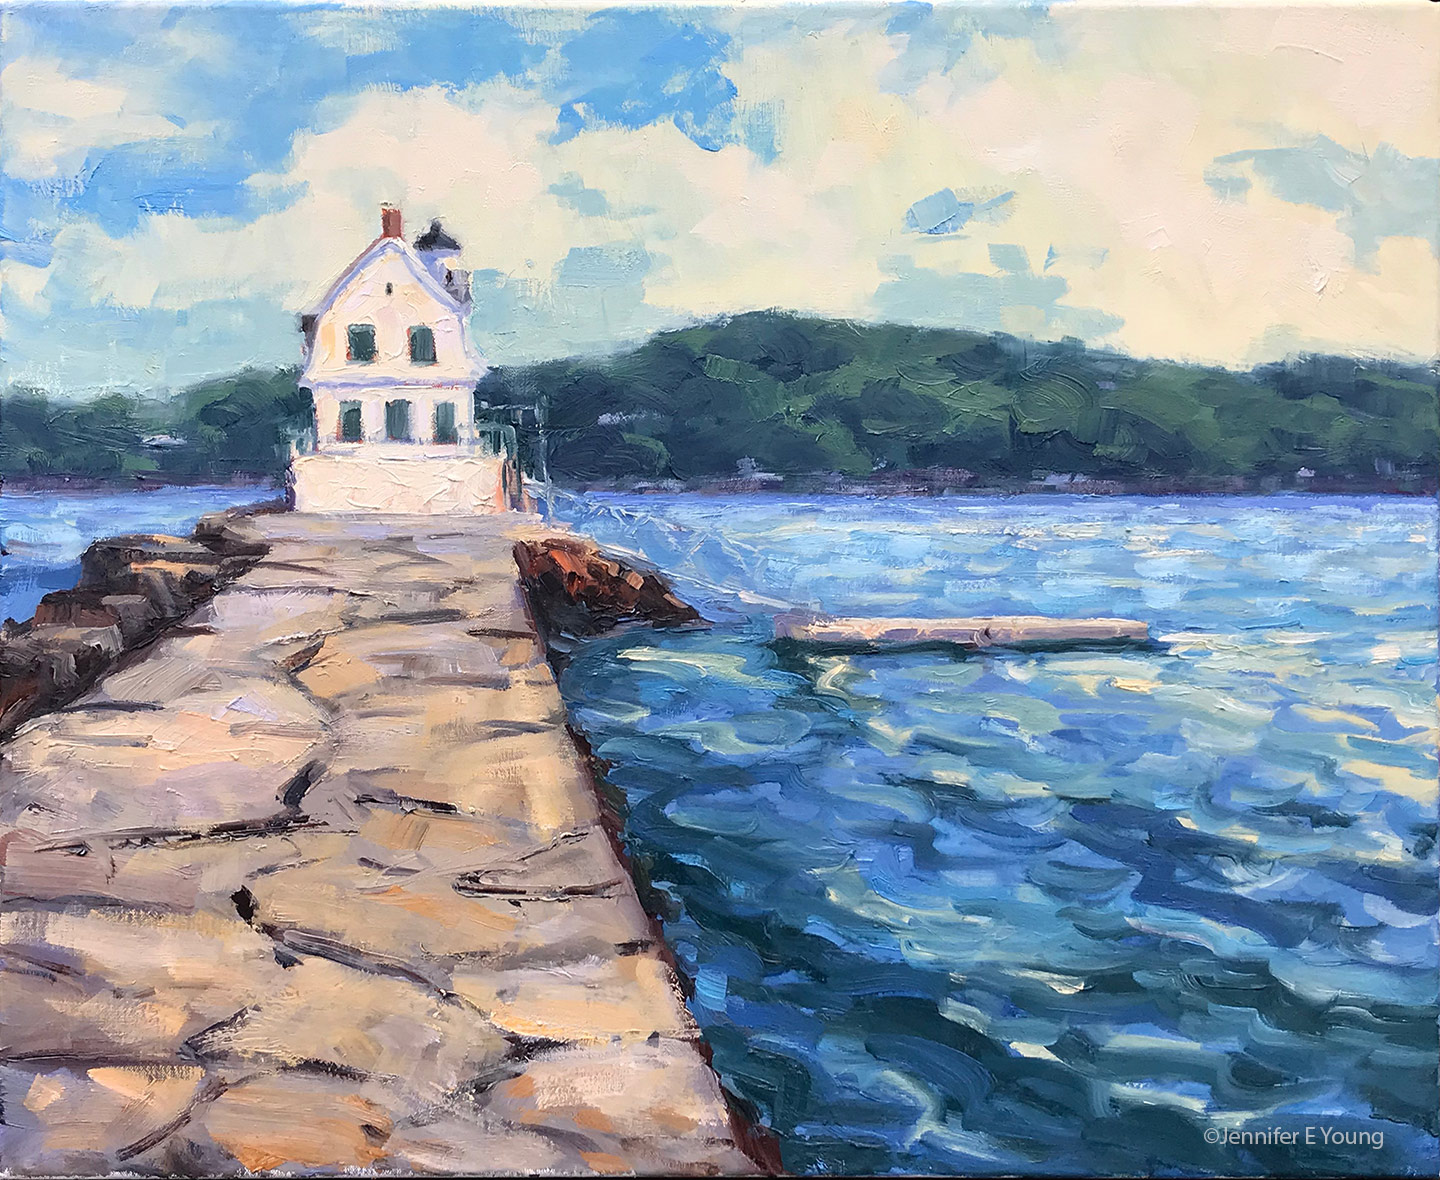
"Afternoon Breeze, Rockland Breakwater", Oil on linen, 20x24"
For a long time I was resistant to jumping on the Facebook bandwagon. And it could be argued that when I finally did sign on, I may have come in at the tail end of an era where the platform provided a real benefit to small businesses for little to no investment other than a bit of time. As time went on, though, Instagram and Facebook began to replace blogging for me. After all, it was faster and seemed likely to reach many more people quicker than I could through blog subscribers alone.
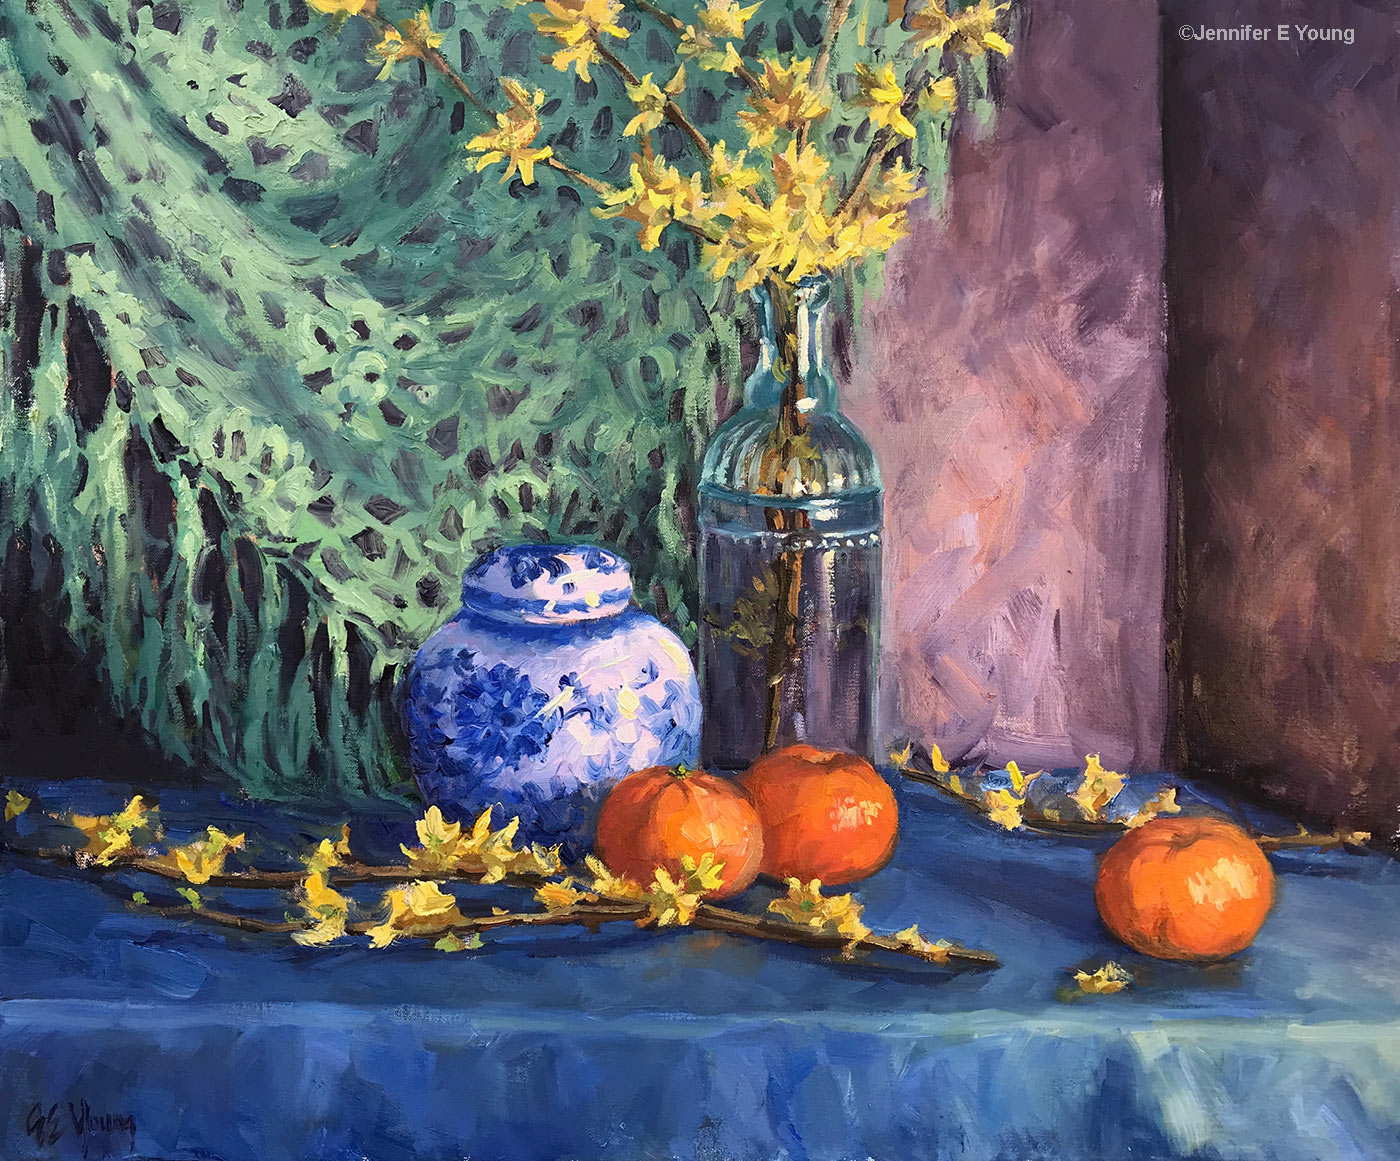
"Forsythia and Blue Delft", Oil on linen, 20x24"
That's still an argument that can be made, but aside from the fact that Facebook is very much in the headlines these days, (and for reasons that are not all that flattering to the company) it seems harder and harder to find the same kind of reach that one could find in the good old days. I guess that's by design, in order to tempt users to buy ads. That's fine. It's a business model, and business is business I suppose.
But the price to be paid goes beyond money. It's the price of time, and yes, privacy. Say what you will about the fact that "nothing is private online." I don't argue with that or hold any illusions. I have never taken the silly quizzes or posted anything deeply personal that I haven't minded sharing. I understand that all of my info that I share is "out there". What bothers me is that my privacy decisions affect the privacy of my friends and vice-versa. Not only that but friends of friends. And not only them, but it turns out Facebook will even track the internet habits of people who never signed up for the service at all. That bothers me. Facebook argues that anyone can go in and lock down third party apps and ultimately control a lot of what is shared. I have gone in and done that as much as I am capable of understanding how to do it. The problem is that in doing so, it renders the ease of sharing posts across platforms nearly impossible without spending an excessive amount of time on it.
Aside from all of that, I've found that my over-reliance on an outside platform to promote my work has resulted in the neglect of my self-hosted blog, and to a lesser extent, my website and even my studio time. I'm so incredibly short on time these days, and, let's face it, even peeking at your news feed or groups makes Facebook a real time-suck.
Truth be told, I'm not sure how many people even read blogs any more, but I feel they still hold value, and think it would be a good idea to give blogging another shot. My hope is that people who are truly interested in my work will come find me here on my own domain first, with social and search serving as feeders. That seems to be the way it should be, but it's not the way it's been.

"Winter Light at Stony Run Trail", Oil on linen, 20x24"
I'm still sharing my work on social media (my preference these days is Instagram) but I'm going to step back from it a bit and give the old blog a little more love. As for the other obsession I mentioned, I have left a few clues for you in this post. These are a few of my recent paintings that I've shared on social media that I had neglected to blog about. The commonality among these pieces is the predominance of that certain color. Any guesses as to what it might be? Let me know in the comments and I'll 'fess up about it in my next post.


